Code Pipeline
Code Pipeline


Document

- Documentation
 Code PipelineBest practicesBuild a blank screen image and deploy the Vite+React frontend project using a NodeJS pipeline
 Copy page
 Download PDF
Best practices
Build a blank screen image and deploy the Vite+React frontend project using a NodeJS pipeline
Copy pageDownload PDFBuild a blank screen image and deploy the Vite+React frontend project using a NodeJS pipeline
This document uses the deployment of a Vite-based React frontend application as an example to demonstrate how to use a Node.js pipeline to build frontend application images that prevent white screen issues, and how to enable application updates and public access through application hosting.
scenario introduction
This article will demonstrate how to address white screen issues during container image builds and Kubernetes deployment for a Vite + React project by combining the pipeline and application delivery features of Code Pipeline. Suitable for developers who are not familiar with Dockerfile and Kubernetes (K8s) related knowledge but want to complete containerized deployment of frontend applications.
- NodeJS compilation and hosted application image build: This pipeline task compiles and builds the source code of the Vite + React project, and packages the resulting static assets into a container image using a static asset containerization approach, where the container image serves only static resources and displays a blank screen until the frontend loads. Nginx is used in the image to act as a reverse proxy for static resources.
- NodeJS application hosting: NodeJS hosted applications are deployed using container images. This article deploys a NodeJS application using images produced by the pipeline. Enable public access to the Vite + React project by adding a load balancing (public network) method.
- NodeJS compilation build & hosted application image build + hosted application deployment: Subsequently, this pipeline template can be used to automate updates for Vite + React projects.
Prerequisites
- The frontend project has been prepared and uploaded to your code repository. This article uses the following commands to create the simplest Vite + React project and upload it to the Gitee code repository. For more information about developing Vite frontend projects, refer to Vite official documentation.
- npm create vite@latest react-demo -- --template react-ts
- Code Pipeline preparations
- Workspace has been created. For detailed operations, refer to Create workspace.
- The code repository containing the frontend project has been integrated into Code Pipeline. For detailed actions, refer to Create code source.
- The Kubernetes cluster to be deployed has already been connected. For specific operations, refer to deploy resource.
Procedure
Step 1: NodeJS compile and build & hosted application image build
- Create pipelines
- Log in Code Pipeline Console.
- In the left navigation bar, select workspace. On the workspace page, click the target workspace name to enter the current workspace.
- Click Create pipeline to open the Select pipeline template dialog box.
- Select NodeJS - Compile Build & Host Application Image Build - Application Deployment, click confirm, and enter the process orchestration page for the current pipeline.
- Process orchestration
- Configure code sources In the code source & trigger area, click add > code source. This document selects the Gitee code source created in the prerequisites. Event triggering is not enabled.
- Configure the NodeJS compilation/build and hosted application image build task.
- Click the NodeJS compilation build & hosted application image build task card to open the edit task panel.
- Configuration NodeJS build and compilation step.
- Configuration ItemDescriptionsStep nameBy default, NodeJS is used for compilation and build; this example uses the default setting.VersionSelect the NodeJS version used for compilation and build. This example uses 20.11.0.Compile commandWrite compilation commands based on the actual business. The example is as follows:npm installnpm run buildSkip on failureOnce enabled, if the current step fails, it will be skipped immediately. This example is not turned on.
- Configuration steps for managed application image build.
-
- All other parameters remain at their default values. Click Confirm to complete the configuration of the current task card.
- Delete the application hosting deployment stage.
- Since a Nodejs hosted application has not yet been created, it is not possible to deploy the application using the pipeline application deployment task. Therefore, delete the application hosting stage first.
- Click Save to save the current pipeline configuration.
- Run pipeline
- On the pipeline list page, select the target pipeline that was just created, and click the run icon in the Actions column.
- In the pop-up run pipeline dialog box, confirm the code source branch information and optionally enter a run description.
- Click confirm. The pipeline starts running, and the system navigates to the details page for the current pipeline.
- After the pipeline runs successfully, you can obtain the address of the built image. Copy the image address for later use.
Step 2: NodeJS application hosting
- Create and deploy a NodeJS hosted application
- In the current workspace, select Application Delivery > Application Management from the left navigation bar.
- On the application management page, click create application.
- On the create application page, select Application Hosting, and fill in the required application configuration information as instructed.
- Enter application information. After completing the entry, click Next: Basic configuration.
-
- Fill in basic configuration. Once completed, click Next: environment configuration.
-
- Fill in environment configuration. After completion, click Next: Advanced configuration.
- Configuration ItemDescriptionsdeploy resourceSelect Kubernetes clusters that have already been connected in the prerequisites.NamespaceSelect the namespace to deploy to.Environment IDAutomatically generated based on the Application ID; can be modified. This example maintains the default settings.
- Leave Advanced configuration at its default setting.
- Click Confirm. The application will begin deployment. You can view application deployment progress on the Environment tab.
- Deployment status changes to Completed, and instance running status is running indicate deployment is successful.
- Add load balancing (public network)
- Switch to the application orchestration tab. In the access method settings section, select Load Balancer (Public Network) > Add Load Balancer (Public Network).
- In the Add Load Balancer (Public Network) dialog box, set load balancer parameters.
- The container port must match the port that nginx listens on in the configuration. This example is 80.
- Click confirm, and creation of the public load balancer will begin.
- After creation is complete, you can view the port mapping for the public load balancer in the table: <Load balancer IP>:<Port number>.
Result validation
Using a machine with public network access permission, enter <load balancer IP>:<port number> in the browser address bar—for example, 101.xx.xx.xx:80. You will be able to successfully access the homepage of the Vite + React project.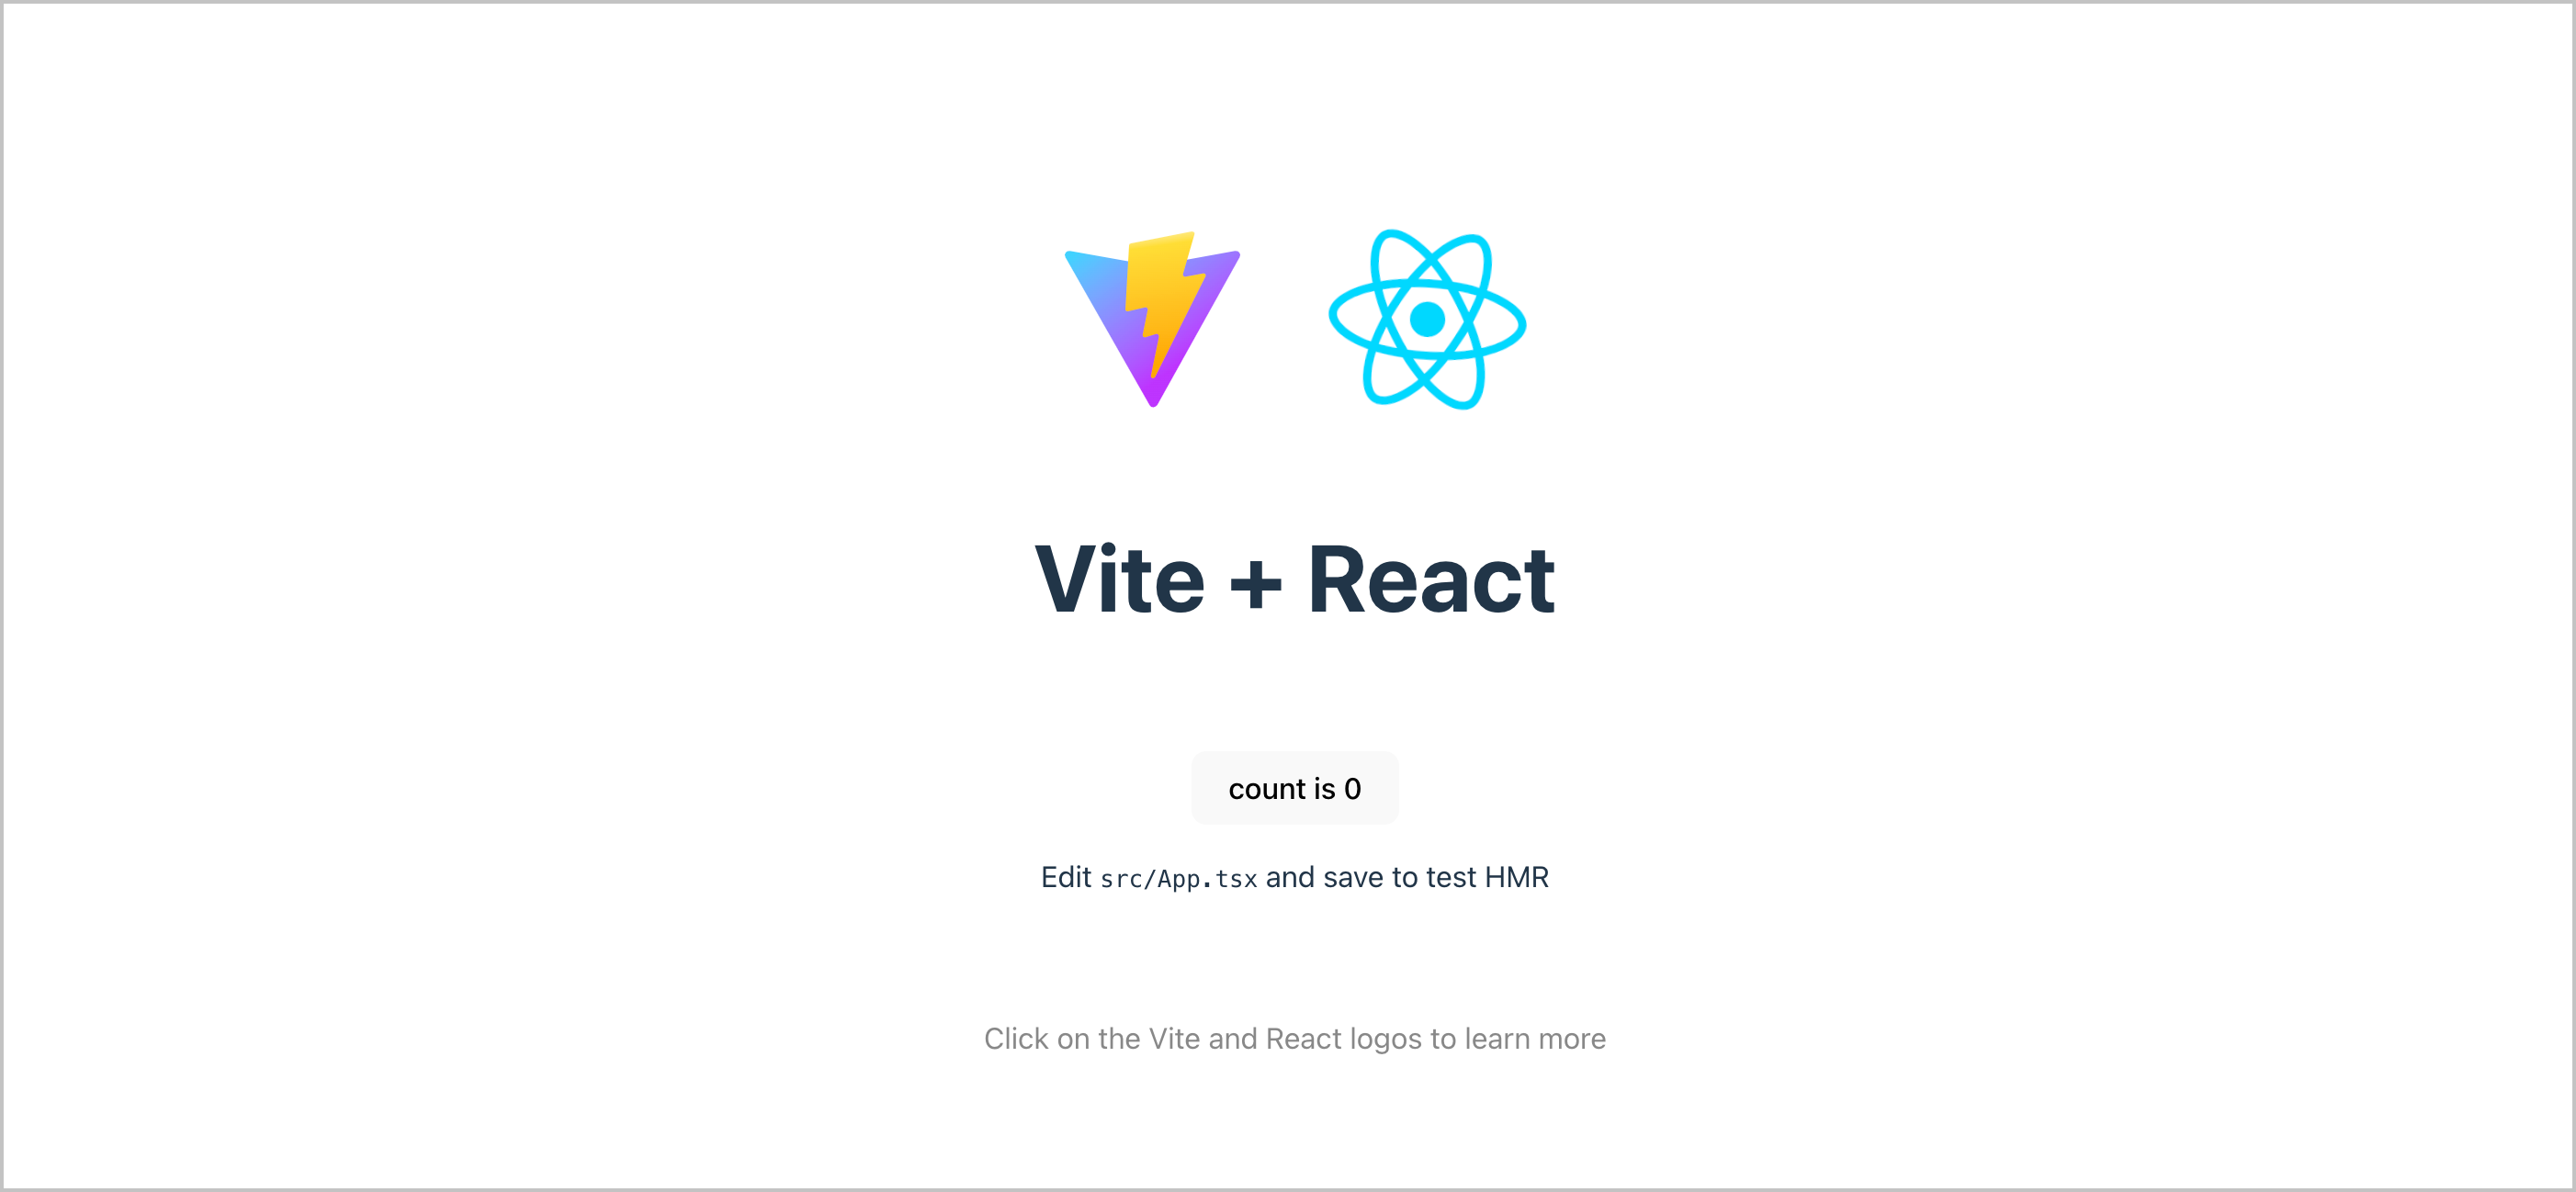
What to do next
In this document, the NodeJS hosted application is deployed using the manual deployment method. However, during the agile iteration process, the team prefers to automatically trigger image building and application deployment in response to pipeline code change events. To achieve the above objective, only two modifications to the current pipeline are required:
- On the current pipeline Process orchestration page, click in the code source area to open the configuration input source dialog box. Turn on event trigger and check Trigger event. For more information, refer to Code Source Trigger.
- On the current pipeline process orchestration page, add an application deployment task after NodeJS compilation and managed application image build, and use upstream artifacts to upgrade the image of the NodeJS managed application. For more information, refer to application deployment.
Last updated: 2025.09.10 17:37:25
All rights reserved © Beijing Volcano Engine Technology Co., Ltd2024
