Server Migration Center
Server Migration Center


Document

- Documentation
 Server Migration CenterGetting startedStep 2: Create and launch the migration jobOperating system migration tasks
 Copy page
 Download PDF
Step 2: Create and launch the migration job
Operating system migration tasks
Copy pageDownload PDFOperating system migration tasks
After the migration source information is imported, the SMC console will automatically generate a migration source record. You can create and start an operating system migration task for the migration source in the console to migrate the operating system of your VolcanoEngine instance to veLinux 1.0/2.0 CentOS Compatible while retaining all system volume data.
This topic describes how to create and start a migration task.
Prerequisites
- The migration source has been imported. For details, see Importing migration source.
- Make sure that the VolcanoEngine instance with the operating system to be migrated complies with the operating system migration specifications.
Usage notes
- Currently, only the following operating systems are supported for migration.
-
- The 5.x kernel used by veLinux is incompatible with the 3.10 kernel used by CentOS 7. If your instance runs workloads that depend on kernel interface programming, such as kernel out-of-tree (OOT) module development and hardware enablement, evaluate compatibility in advance to avoid service malfunctions after operating system migration.
- Before the operating system of the ECS instance is migrated, SMC will automatically create a whole image (naming format: SMC_Backup_Image__$Migration task ID$) and a snapshot consistency group (naming format: create from $Target resource ID$) for data backup, facilitating subsequent data recovery. The image and snapshots will not be automatically deleted by the resource cleanup feature after the migration. You can delete them manually based on your needs. For details, refer to Clearing tasks resources.
- During the migration process, do not perform operations on the source ECS instance. For example, do not stop or restart the source ECS instance.
- Do not shut down the migration Agent during the migration. Doing so will cause migration failure and may even damage the operating system of the source ECS instance. In case of unexpected incidents, restore the system using the whole image automatically created by SMC before the migration. For details, refer to Purchasing ECS instances with whole images.
Procedure
After you import the migration source information using the migration Agent, the ECS console will display the corresponding migration source information. You can create a migration task to migrate the source to VolcanoEngine.
- Log in to the ECS console.
- In the left directory tree under any region, select "Server Migration Center > Migration source" to enter the migration source list page.
- (Optional) If you have already enabled the snapshot service, skip this step. Otherwise, hover the mouse over the "Create migration task" button. In the pop-up window, check the box next to "Click to activate, indicating that you are aware and agree Service-Specific Terms for VolcanoEngine Elastic Compute Service", and then click the "Confirm" button.
- After the snapshot service is enabled, click the "Create migration task" button in the "Actions" column of the target migration source.
-
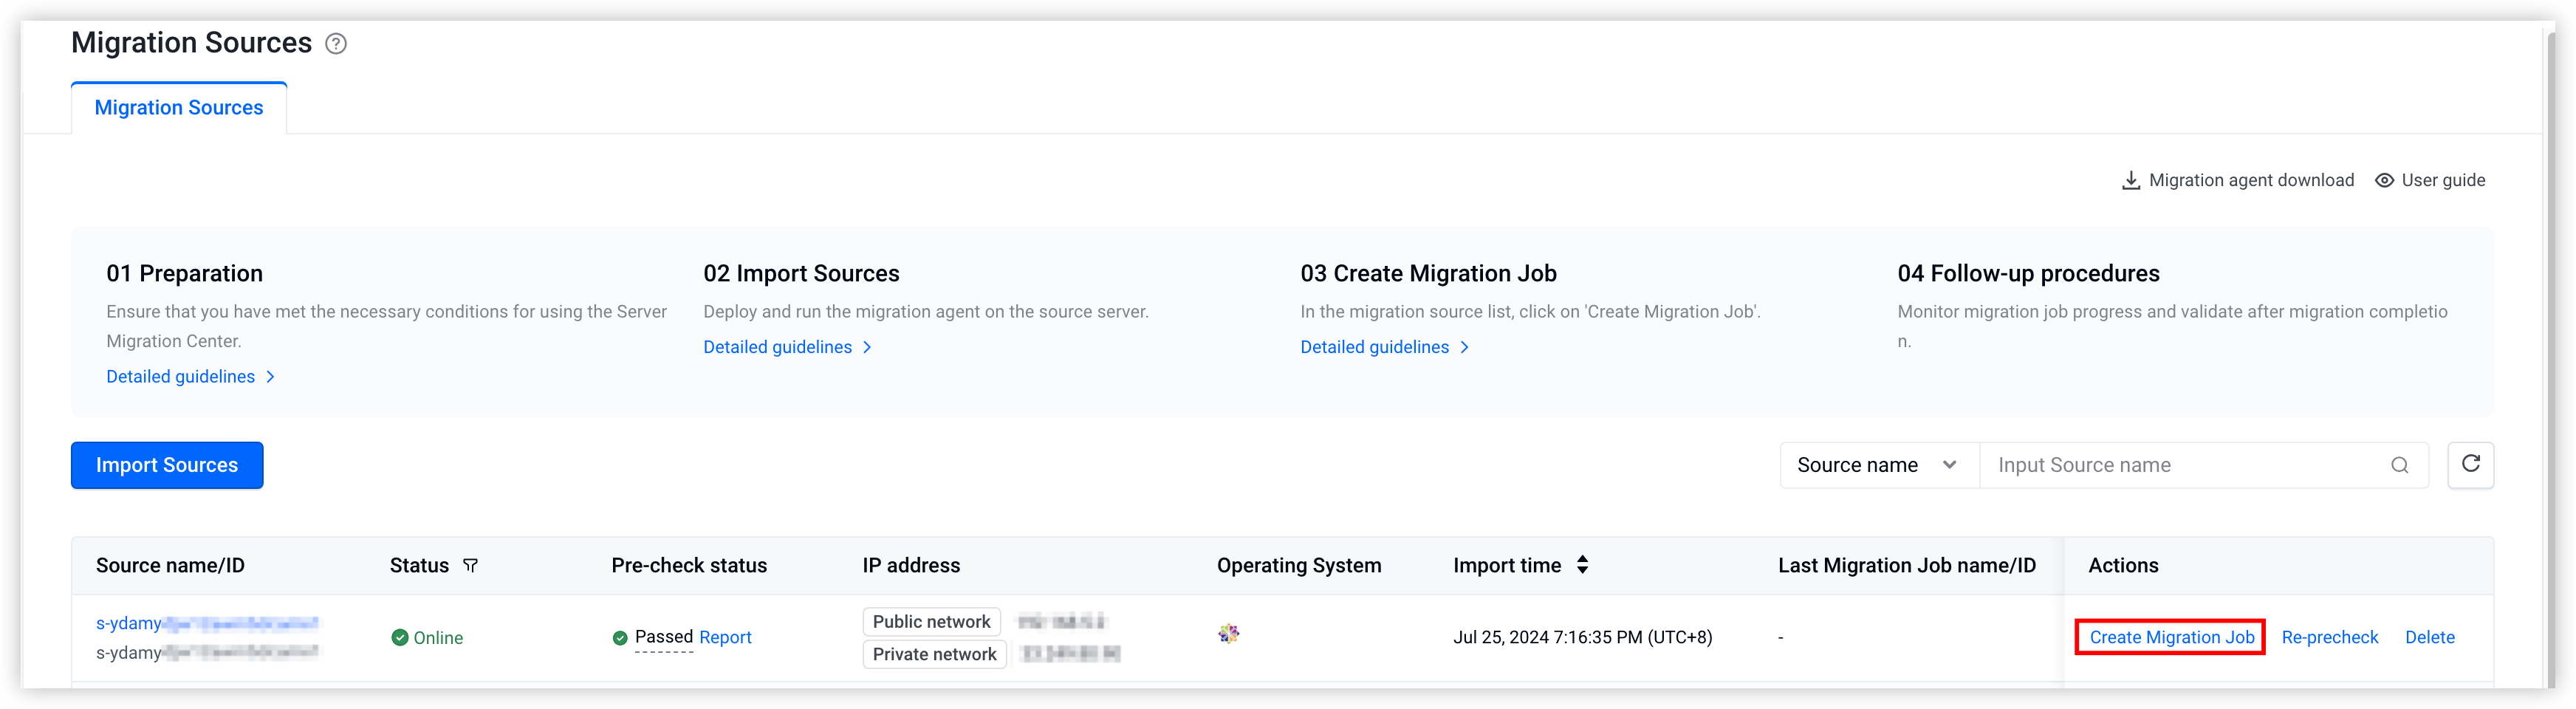
- On the "Create migration task" page, enter the following information based on the page instructions.
-
- After you configure the parameters, click the "Confirm" button.
- Once the task is created, it will start immediately.
- You can view the execution progress, result, and logs of the migration task. You can also modify the auto incremental synchronization rules. For details, see Managing migration tasks.
- You can go to the "Event monitoring" page in the ECS console or the "Event Center" in the Cloud Monitor console to query migration task event information. For details, see Querying and handling ECS events. For the complete list of Server Migration Center event types, see Status change event.
- After the migration is completed, you can go to the ECS console or log in to the source server to check whether the operating system is migrated.
-
- Log in to the ECS console.
- In the top menu bar, select the region and project where the target instance resides.
- If the image column of the target instance is updated to veLinux, the migration is successful.
- Log in to the ECS console.
- Execute the following command to view veLinux operating system information.
- cat /etc/velinux-release
- If the following output is displayed, the migration is successful.
-

Related documents
Last updated: 2026.01.26 14:49:52
All rights reserved © Beijing Volcano Engine Technology Co., Ltd2024
