GPU Compute Service
GPU Compute Service


Document

- Documentation
 GPU Compute ServiceGPU Compute ServiceBest PracticesBuilding applicationsGPU-Setting up Isaac Sim 5.1 simulation environment
 Copy page
 Download PDF
Building applications
GPU-Setting up Isaac Sim 5.1 simulation environment
Copy pageDownload PDFGPU-Setting up Isaac Sim 5.1 simulation environment
This topic describes how to deploy the Isaac Sim 5.1.0 simulation environment, access it by using the Live Streaming Client, and complete the construction of the basic environment required for business scenarios such as robot simulation.
Isaac Sim
NVIDIA Isaac SimTM is a robot simulation tool built on the NVIDIA Omniverse platform. It enables developers to simulate and test AI-powered robotics solutions in a physically accurate simulation environment. Equipped with a high-fidelity, GPU-accelerated PhysX engine, Isaac Sim supports industrial-grade RTX rendering for multi-sensor setups. It also features direct GPU access, allowing it to simulate a wide range of sensors including cameras, LiDAR, and contact sensors. This enables digital twin simulation, making it possible to run end-to-end robotics development workflows without the need to deploy physical robots. Learn more.
Software version
- Operating system: In the example provided in this topic, Ubuntu 22.04 with GRID 16.8 is used.
- The NVIDIA Grid driver enables the GPU to more effectively deliver high-performance compute capabilities or provide smoother graphics display. In the example provided in this topic, the 16.8 version is used.
Step 1: Prepare the environment
- Purchase and configure a GPU instance.
- Create an instance that meets the following conditions. For more information, see Purchasing instances by following the wizard.
-
- Execute the following commands to install and configure Docker.
- sudo apt updatesudo apt install ca-certificates curl gnupg lsb-releasesudo mkdir -p /etc/apt/keyringscurl -fsSL https://mirrors.ivolces.com/docker/linux/ubuntu/gpg | sudo gpg --dearmor -o /etc/apt/keyrings/docker.gpgecho "deb [arch=$(dpkg --print-architecture) signed-by=/etc/apt/keyrings/docker.gpg] https://mirrors.ivolces.com/docker/linux/ubuntu $(lsb_release -cs) stable" | sudo tee /etc/apt/sources.list.d/docker.list > /dev/nullsudo apt updatesudo apt install docker-ce docker-ce-cli containerd.io docker-compose-plugin -y
- Execute the following commands to install the NVIDIA Container Toolkit.
- curl -s https://mirrors.ivolces.com/nvidia_all/ubuntu2204/x86_64/3bf863cc.pub | sudo apt-key add -cat <<EOF >/etc/apt/sources.list.d/nvidia.listdeb http://mirrors.ivolces.com/nvidia_all/ubuntu2204/x86_64/ /EOFapt updateapt install nvidia-container-toolkit -y
- Execute the following commands to configure Docker. This allows containers to use GPU resources of instances.
- sudo nvidia-ctk runtime configure --runtime=dockersudo systemctl restart docker
- Add inbound rules to allow TCP ports 22 and 49100, and UDP port 47998. For more information, see Modifying security group rules.
- Since it is necessary to pull the official Isaac Sim Docker image from NVIDIA NGC (nvcr.io), make sure that your instance can access this site.
tip
We recommend that you use the shared routing mode of the Internet Express to accelerate access to the nvcr.io domain. Learn more.
Step 2: Pull the Isaac Sim container image
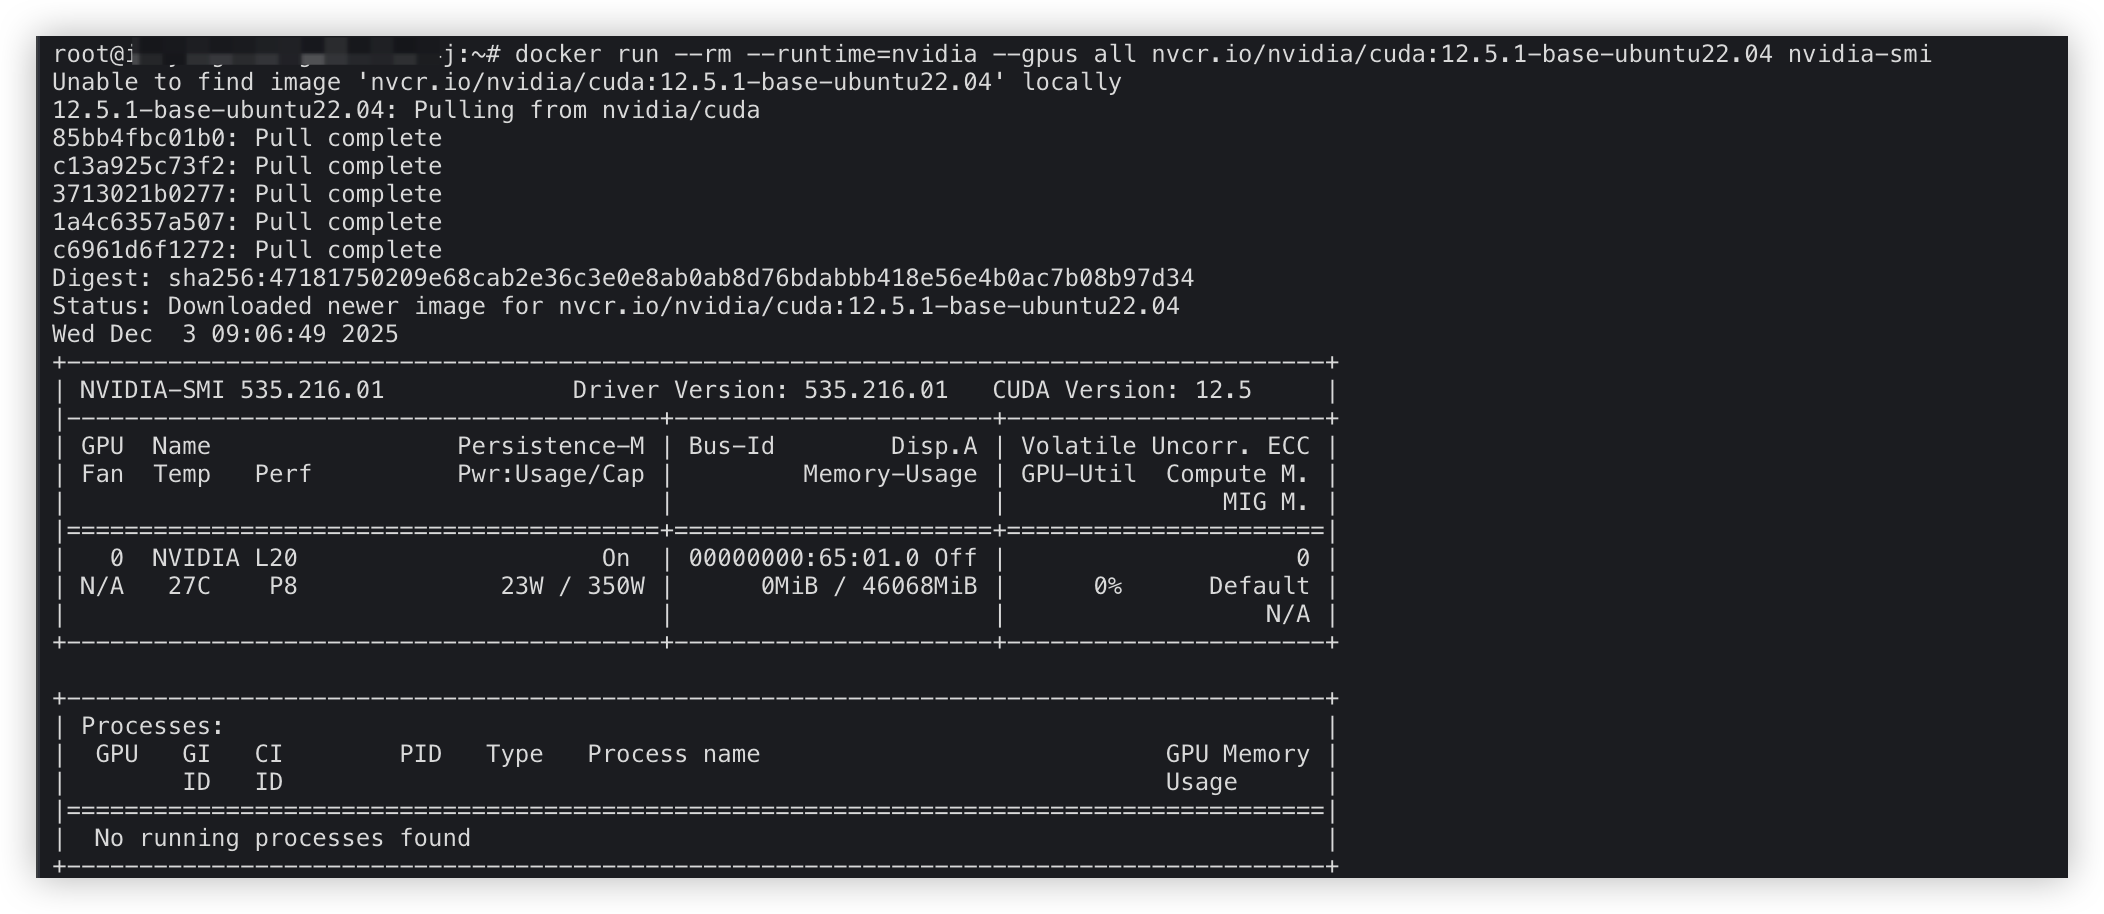
- Execute the following command to verify whether you can pull the test image from nvcr.io and whether the nvidia-container-toolkit works as expected.
- docker run --rm --runtime=nvidia --gpus all nvcr.io/nvidia/cuda:12.5.1-base-ubuntu22.04 nvidia-smi
- If the following output is displayed, you can pull the test image from nvcr.io and the nvidia-container-toolkit works as expected.
-
- Execute the following command to confirm whether the test image has been pulled locally.
- docker image ls
- If the following output is displayed, the test image has been pulled as expected.
-

- Execute the following command to create the file directory.
- mkdir -p ~/docker/isaac-sim/cache/main/ovmkdir -p ~/docker/isaac-sim/cache/main/warpmkdir -p ~/docker/isaac-sim/cache/computecachemkdir -p ~/docker/isaac-sim/configmkdir -p ~/docker/isaac-sim/data/documentsmkdir -p ~/docker/isaac-sim/data/Kitmkdir -p ~/docker/isaac-sim/logsmkdir -p ~/docker/isaac-sim/pkgsudo chown -R 1234:1234 ~/docker/isaac-sim
- Execute the following command to pull and run the container image for Isaac Sim 5.1.0.
warning
When you exit the container, it will be automatically removed, but the cache, configuration, and data will all be retained.
- docker run --name isaac-sim --entrypoint bash -it --gpus all -e "ACCEPT_EULA=Y" --rm --network=host \-e "PRIVACY_CONSENT=Y" \-v ~/docker/isaac-sim/cache/main:/isaac-sim/.cache:rw \-v ~/docker/isaac-sim/cache/computecache:/isaac-sim/.nv/ComputeCache:rw \-v ~/docker/isaac-sim/logs:/isaac-sim/.nvidia-omniverse/logs:rw \-v ~/docker/isaac-sim/config:/isaac-sim/.nvidia-omniverse/config:rw \-v ~/docker/isaac-sim/data:/isaac-sim/.local/share/ov/data:rw \-v ~/docker/isaac-sim/pkg:/isaac-sim/.local/share/ov/pkg:rw \-u 1234:1234 \nvcr.io/nvidia/isaac-sim:5.1.0
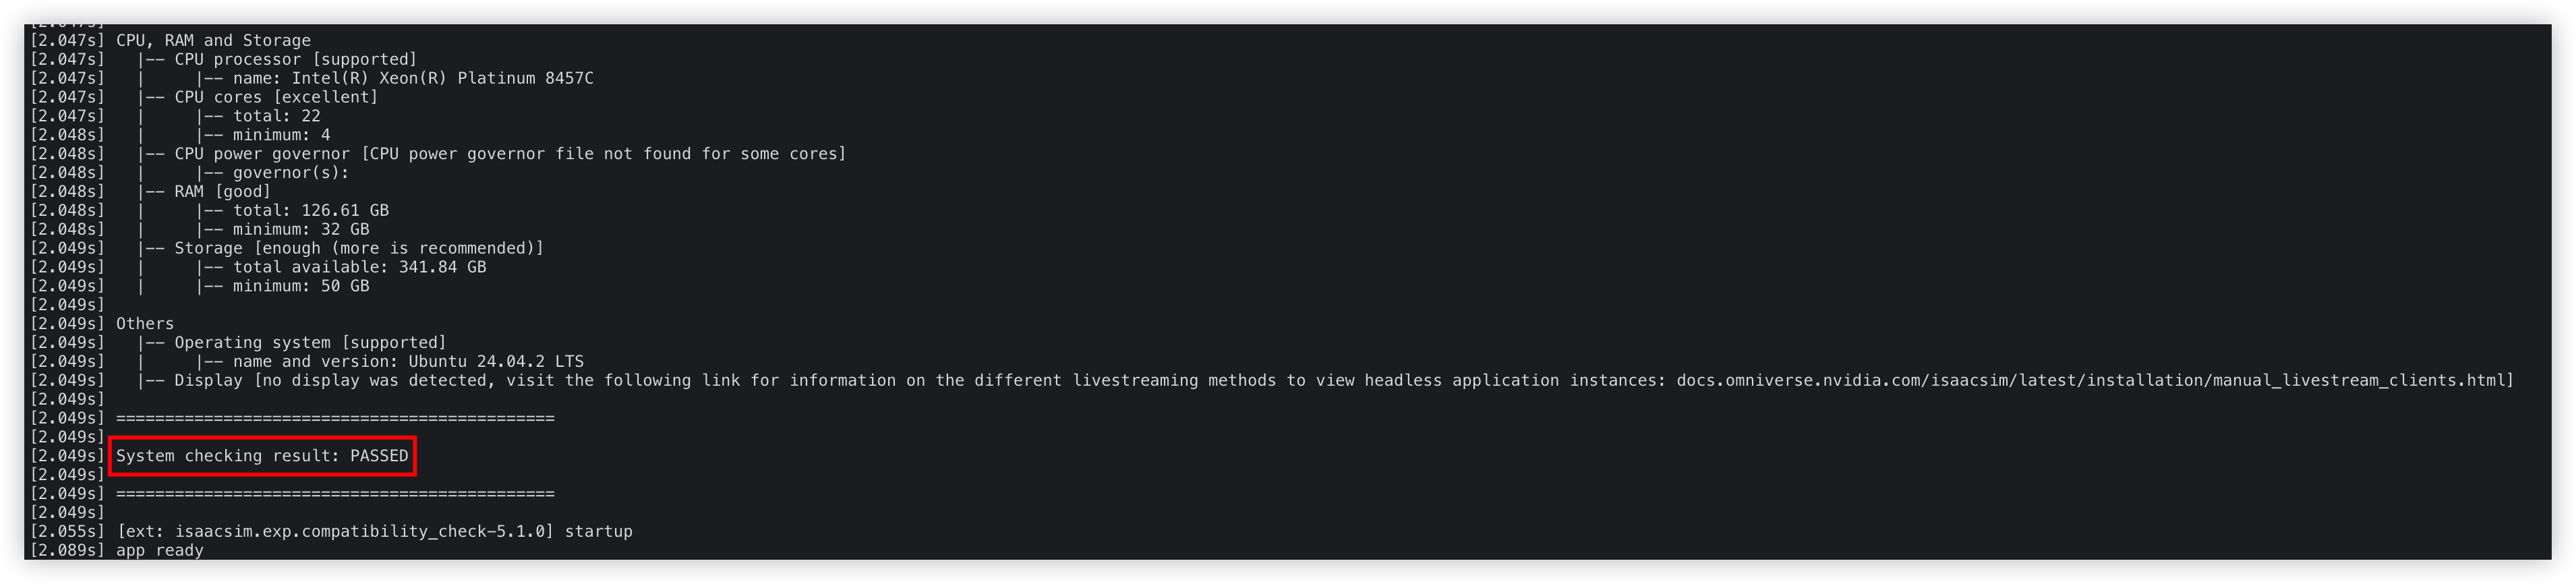
- Execute the following command inside the Isaac Sim container to verify whether the current operating system is compatible with Isaac Sim.
- ./isaac-sim.compatibility_check.sh --/app/quitAfter=10 --no-windowTitle
- If the output contains System checking result: PASSED, the compatibility check has passed.
-
Step 3: Start the Isaac Sim service
Execute the following command inside the Isaac Sim container to start the Isaac Sim service.
tip
If you have already exited the Isaac Sim container, re-execute the command above to pull and run the Isaac Sim 5.1.0 container image.
- Supported only for instances within the same VPC
- ./runheadless.sh
- Supported for external servers over the public network.
- PUBLIC_IP=$(curl -s ifconfig.me) && ./runheadless.sh --/app/livestream/publicEndpointAddress=$PUBLIC_IP --/app/livestream/port=49100
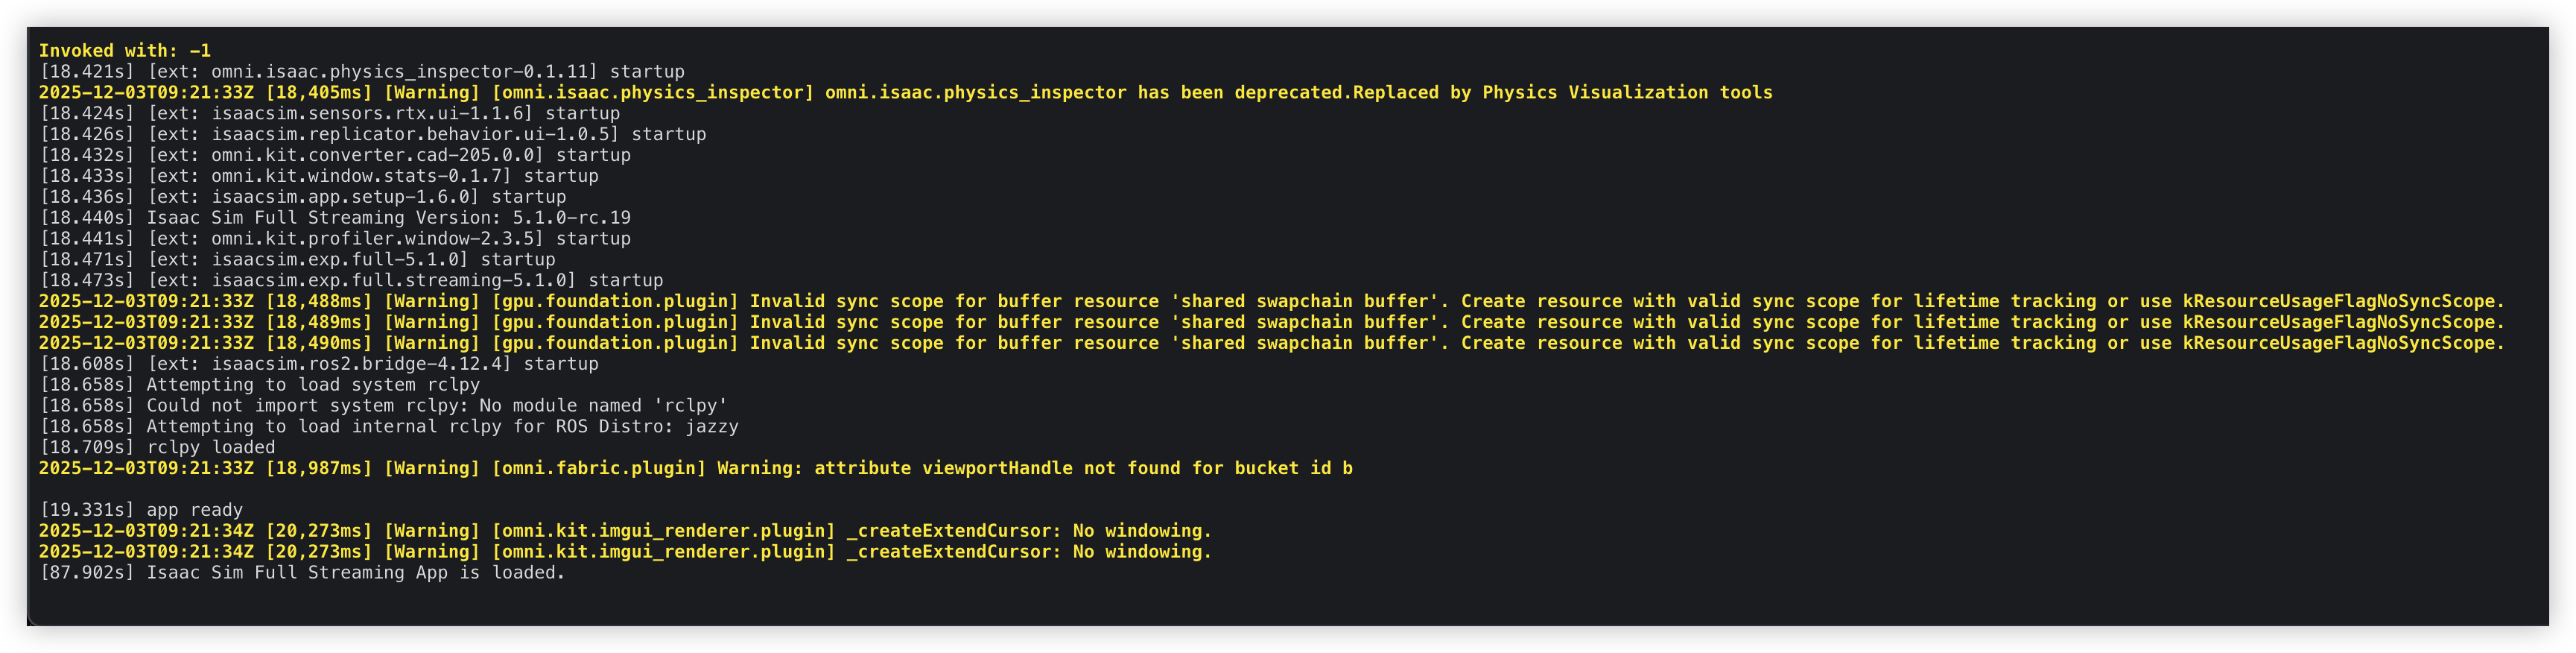
When the following output is displayed, the Isaac Sim service has been started.
Step 4: Access the Isaac Sim service
- Log in to the server from which you need to access the Isaac Sim service. In this example, a local macOS terminal is used.
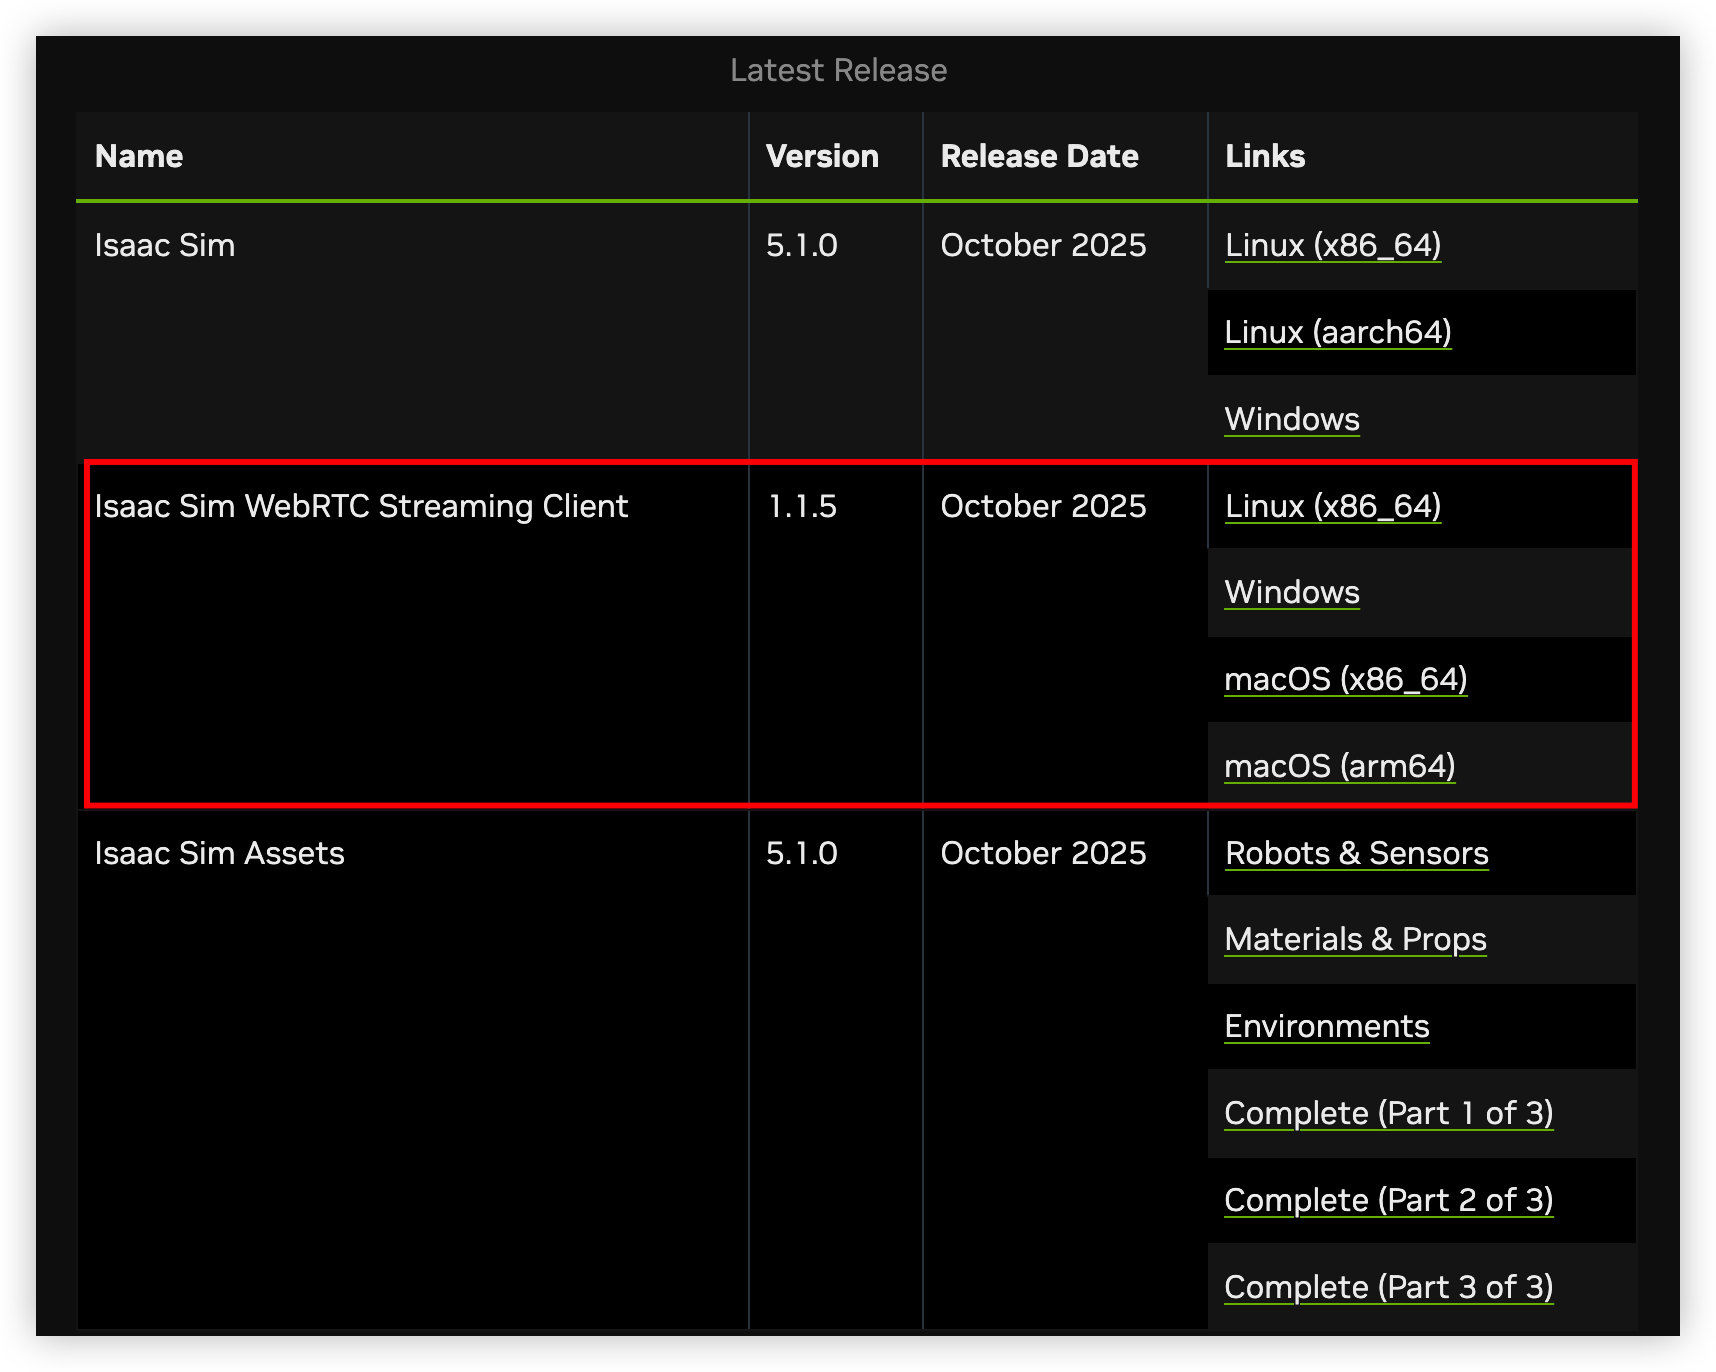
- Visit the NVIDIA official website to download and install the WebRTC client suitable for your instance.
-
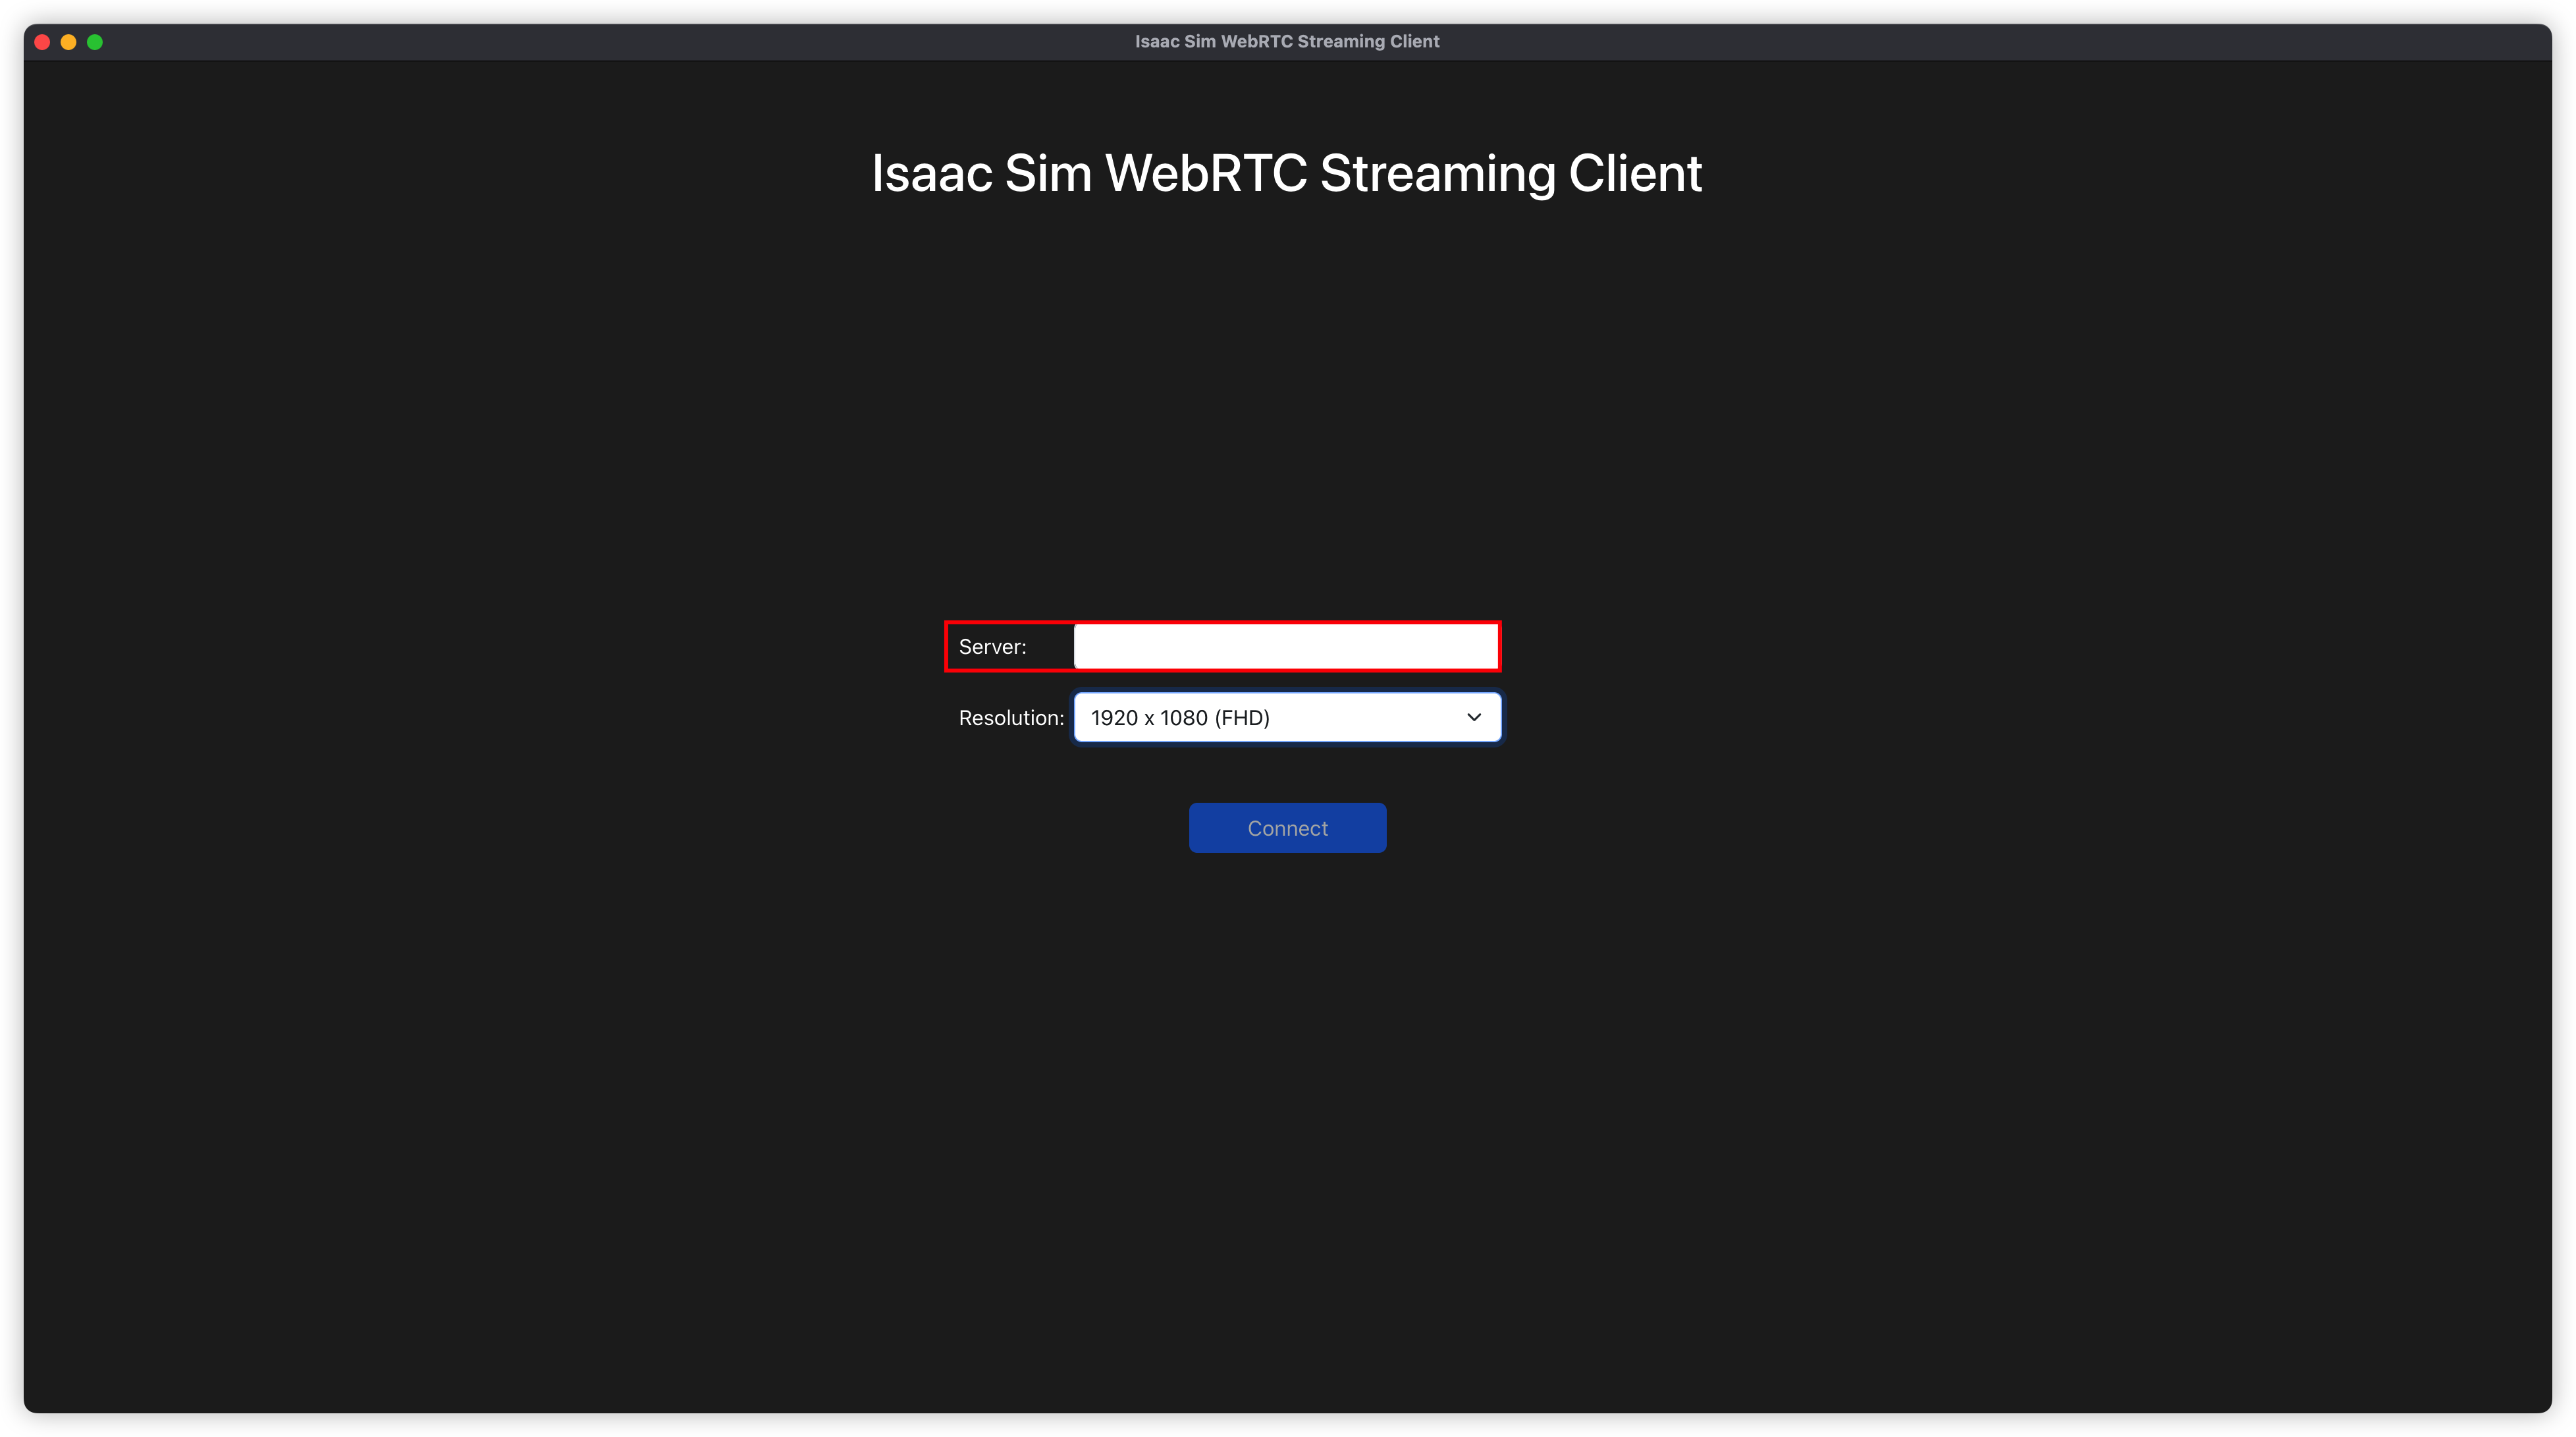
- Start the WebRTC client. In the "Server" field, configure the EIP of the instance running the Isaac Sim service to allow access from external servers over the public network. Alternatively, you can configure the private IP address in the "Server" field to allow access only from instances within the same VPC. Then, click the "Connect" button to connect to the Isaac Sim service.
-
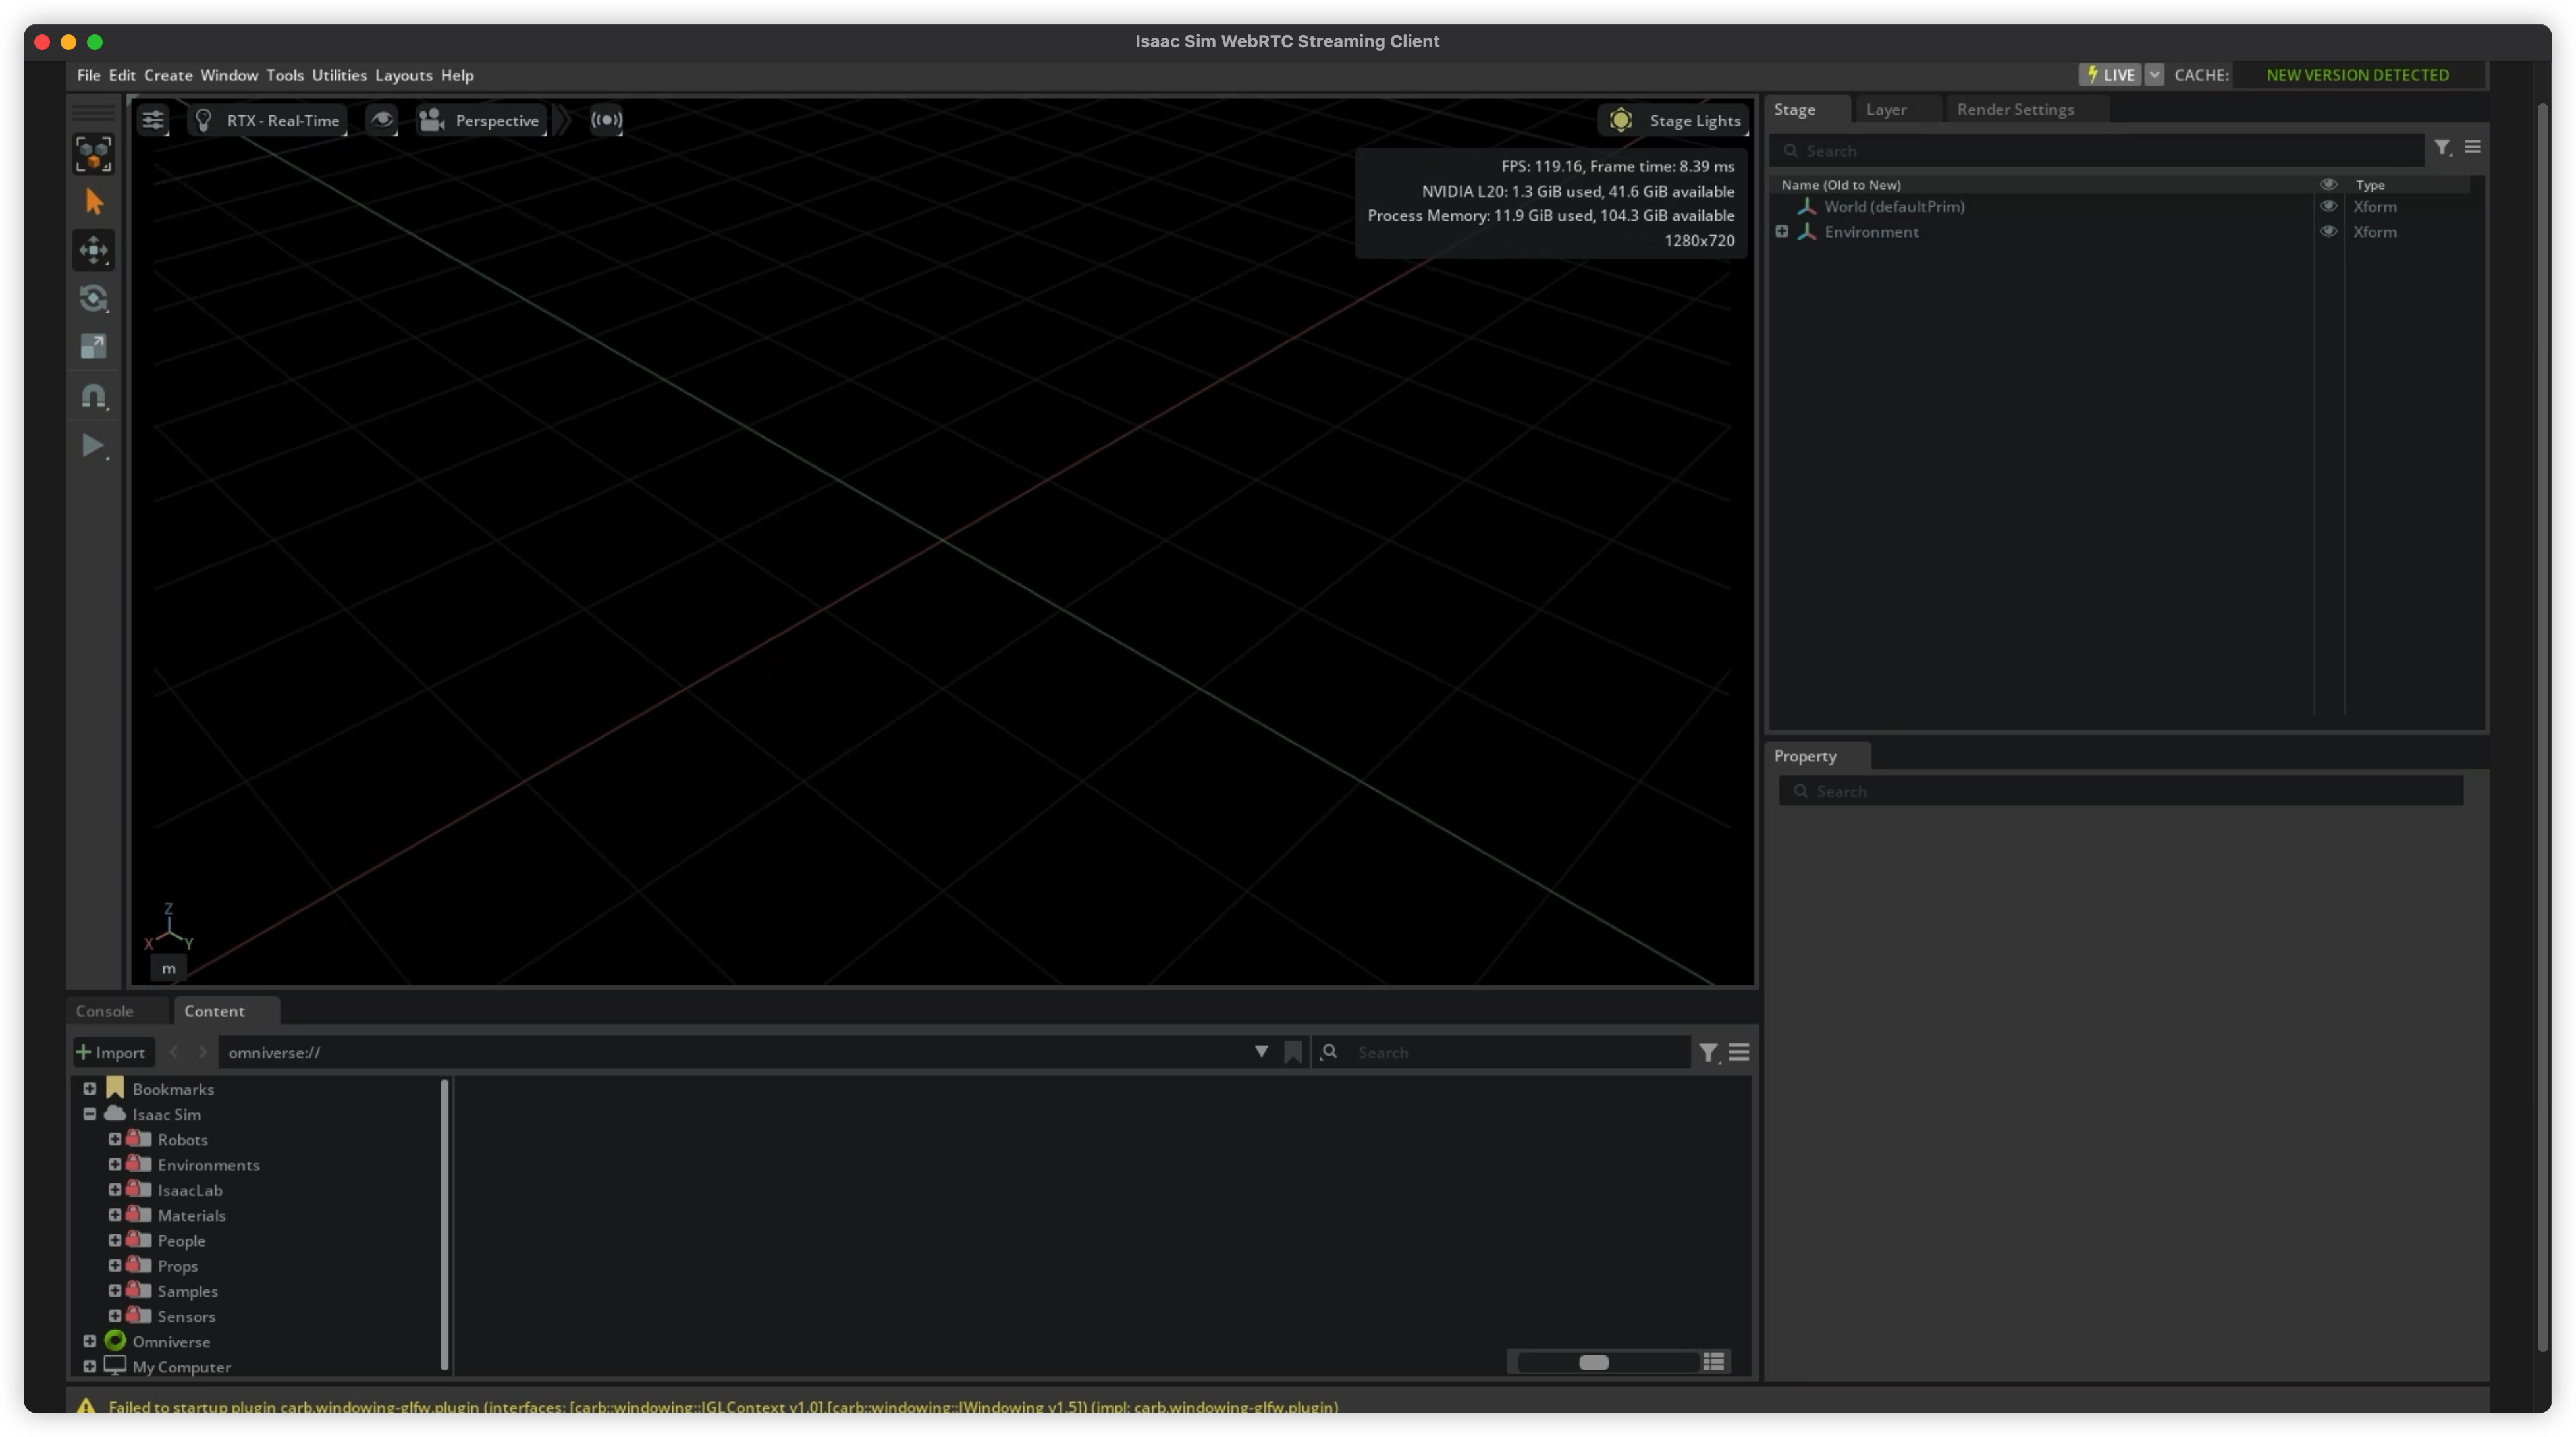
- Once the Isaac Sim service is connected successfully, you can load robot files and start simulation tasks.
-
Last updated: 2025.12.12 15:00:17
All rights reserved © Beijing Volcano Engine Technology Co., Ltd2024
