Elastic Compute Service
Elastic Compute Service
Elastic Compute Service


Document
Elastic Compute Service
What's New
Announcement
OpenAPI related
Pricing and quotas are related
About products and plugins
Feature discontinuation
Overview
Billing
Billable items
Billing methods
Billing methods change
Getting Started
User Guide
Instances
Instance types
X86 Computing
Elastic Bare Metal Server
Heterogeneous Computing
Select instance billing method
Spot instance
Elastic Scheduled Instance
Offsetting Resources
Reserved Instances
Buying ECS instances
Logging in to an instance
Logging in to a Linux instance
Managing instance status
Modifying instance types
Using instance user data and metadata
Instance metadata
Images
Public images
veLinux images
Custom images
Importing custom images
Creating custom images
Image detection
End of life (EOL) of image
Elastic Block Storage
Basic volume operations
Partitioning and formatting a volume
Extending a volume
EBS Agent
Snapshots
Basic snapshot operations
Auto snapshot policies
DataInsights
Network
Network interface and IP address
IP Address
IPv4 address
Security group
Security
Passwords and key pairs
Deployment and scaling
Monitoring
Monitoring metrics
Event monitoring
Local volume event O&M
Method 1: Solve the local volume failure by replacing the faulty volume
O&M
Cloud assistant
Managing agents
Process choreography
Common operation and maintenance tasks
Batch operations on instances
Batch operations on EBS Volumes
Batch operations on images
Temporary upgrade of bandwidth
Managing application updates
orchestration plan
Patch management
Managing patch plans
Managing patch baselines
IAM
Tags and projects
Best Practices
AI applications
OpenClaw (formerly Moltbot)
Quickly deploying OpenClaw via application templates
Quickly deploying OpenClaw via marketplace images
Manually deploying OpenClaw
Self-service website creation
Building environments
Building a Web environment (Windows)
Building applications
Building FTP site
Deploying databases
Building game servers
Building websites
Building a WordPress blog
Building multiple websites
Manage software sources for Linux instances
AIGC practices
Performance test
Network performance test
Instance configuration
Setting up AD Domain Services on Windows OS
Windows Multi - User Login
Changing screen resolution
Instance data
Uploading or downloading files
Data restoration
ECS instance local time synchronization
Volume
Monitoring
Security
Images
Kernel fine-tuning
O&M
Troubleshooting
Remote log in issue
Linux operating system issue
Windows operating system issue
SSH log in issue
Operating system issue
veLinux operating system issue
Linux operating system issue
Windows operating system issue
Instance status issue
Instance unable to start issue
High instance load issue
GPU instances issue
Network connection issue
Network configuration issue
Storage classes issue
EBS Volume issue
Local Disk issue
Logs and monitoring issue
Third - party software issue
API Reference
Regions and availability zones
Instances
Images
HPC clusters
Key pairs
Tags
Volumes
Reserved storage capacity
Snapshot
Auto snapshot policy
Monitoring
Deployment sets
Launch templates
Cloud assistant
Patch management
SDK reference
CLI Reference
FAQ
Dedicated Host DDH
What's New
Billing
User Guide
Manage Dedicated Host
Manage Dedicated Host Cluster
Manage ECS instances
Monitoring and O&M
API reference
proprietary host
- Documentation
 Elastic Compute ServiceElastic Compute ServiceBest PracticesSelf-service website creationBuilding websitesSetting up a Moodle online course management system
 Copy page
 Download PDF
Building websites
Setting up a Moodle online course management system
Copy pageDownload PDFSetting up a Moodle online course management system
Moodle is a free, feature-rich open-source learning management system (LMS) that provides an IT platform to support curriculum design and teaching applications for educational informatization. It delivers a learning environment well-suited for primary and secondary education.
Software versions
- Operating system: In the example provided in this topic, CentOS 8.3 is used.
- Apache: A web server with stable performance. In the example provided in this topic, Apache 2.4.37 is used.
- MySQL/MariaDB: A database management system. In the example provided in this topic, MySQL 8.0.26 is used.
- PHP: A server-side scripting language embedded in HTML documents. In the example provided in this topic, PHP 7.3.20 is used.
- Moodle: In the example provided in this topic, Moodle 3.11.6+ is used.
Prerequisites
A Linux instance is purchased and a LAMP environment is set up. For more information, see Setting up a LAMP environment (CentOS 8).
Step 1: Create a database for Moodle
- Execute the following command to access the MySQL database as the root user. The password of the root user is the one you specified during MySQL configuration.
- mysql -u root -p
- Execute the following command to create a database for Moodle.
- create database database_name;
- Create a user for the database created for Moodle.
- create user username@'localhost' identified by Password;
- Grant all permissions to the user.
- grant all privileges on database name.* to 'username'@'localhost';
- Execute the following command to make the preceding commands take effect.
- flush privileges;
- Execute the following command to exit the MySQL database.
- exit
Step 2: Download and configure Moodle
- Download Moodle 3.11.6+ to your local device.
tip
- Upload the local Moodle installation package to the ECS instance. For more information, see Overview of local data upload.
- Execute the following command to decompress the Moodle installation package.
- unzip moodle-latest-311.zip
- Execute the following command to move the Moodle files to the website root directory.
- mv moodle/ /var/www/html/moodle
- Execute the following command to enter the website root directory of Moodle.
- cd /var/www/html/moodle
- Execute the following command to specify write permissions for the /var/www/ directory.
- chown -R apache: /var/www/
- Execute the following command to restart the Apache service.
- systemctl restart httpd
Step 3: Install PHP extensions
Each Moodle release specifies minimum requirements for the PHP version and includes several required PHP extensions. A complete environment check is performed before each installation and upgrade.
In the example provided in this topic, Moodle 3.11.6 is used. You also need to execute the following commands in sequence to install the required PHP extensions.
yum install php-pecl-zip
yum install php-intl
systemctl restart php-fpm
Step 4: Install Moodle
- Enter http://<ECS instance EIP>/moodle/install.php in your local browser to access the Moodle website.
- The following output is displayed.
-
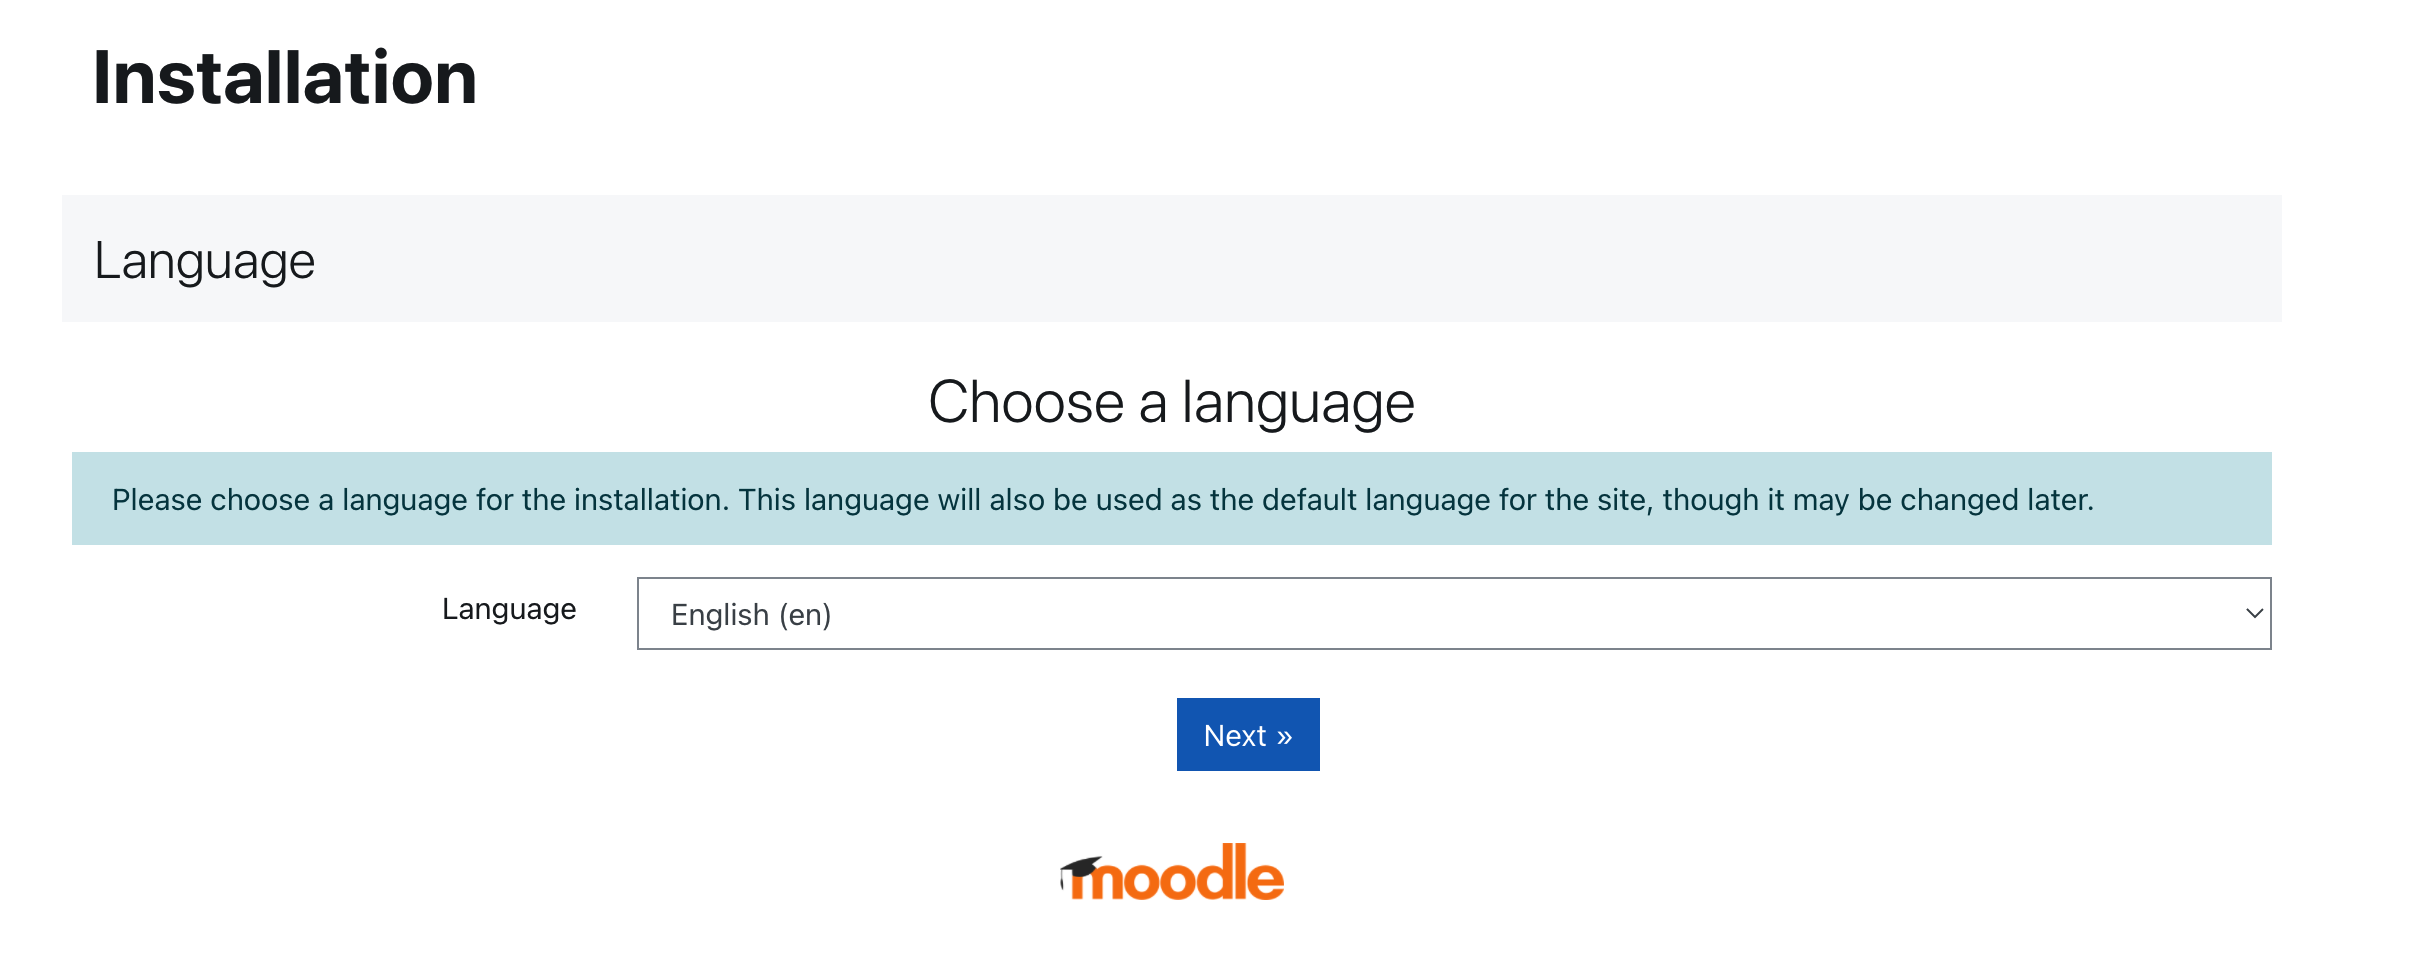
- Select the installation language. After you select "English", click the "Next" button.
- Retain the default value of the path, and click the "Next" button.
- Retain the default value of the database type, and click the "Next" button.
- Configure the database. Enter the database name, username, and password specified in Step 1: Create a database for Moodle, and set the port to 3306. Click the "Save and Continue" button.
- Confirm the copyright statement, and then click the "Continue" button.
- Check the installation components, confirm that the minimum requirements have been met, and then click the "Continue" button.
- Go to the installation system page. When the installation is complete, click the "Continue" button.
- Enter the account information of the main administrator, and then click the "Update Profile" button.
- Specify the website homepage and other information, and then click the "Save Changes" button.
- Go to the website registration page. After the configuration is complete, click the "Register Your Website" button.
- Click the "Continue" button or visit http://<ECS instance EIP>/moodle/ to automatically log in to the homepage of the management backend.
- If the following page is displayed, the Moodle online course system is set up. You can manage the website and specify custom settings based on your business requirements.
Step 5 (Optional): Resolve the domain name
You can configure a domain name for your website, eliminating the need to use a complex, less secure EIP to access it. You can perform the following steps to specify a domain name for the website.
- Purchase a domain name.
- If you do not have an available domain name, we recommend that you purchase one by using Volcano Engine Domain Service.
- Apply for an ICP filing for your domain name.
- If your domain name points to a server located in the Chinese mainland, you need to apply for an ICP filing for your domain name. Otherwise, the website is not accessible.
- Configure domain name resolution.
- You need to resolve your domain name to the EIP to access your website.
- After you complete the preceding steps, you can enter http://<domain name> in your local browser to access the Moodle website.
Step 6 (Optional): Enable HTTPS for the website
When a user accesses your website over the HTTP protocol, the browser warns the user that the connection is not secure. We recommend that you enable HTTPS secure communication for your website. This ensures encrypted data transmission between users and your website, effectively defending against network hijacking, information leakage, and other threats.
To enable HTTPS, you need to deploy an SSL certificate on your website. You can apply for a free SSL certificate in the Volcano Engine Certificate Center. For more information, see Applying for free certificate and Downloading and installing certificate.
Last updated: 2026.06.18 19:52:58
All rights reserved © Beijing Volcano Engine Technology Co., Ltd2024
