Intelligent Data Insight
Intelligent Data Insight


- Documentation
 Intelligent Data InsightDataWind User GuideOpen and IntegrationOffice Software IntegrationIntegrate the DingTalk Application
 Copy page
 Download PDFCopy pageDownload PDF
This article describes how to integrate DataWind with the DingTalk application.
DingTalk integration can be completed by creating a custom application on the DingTalk side.
Common application scenarios:
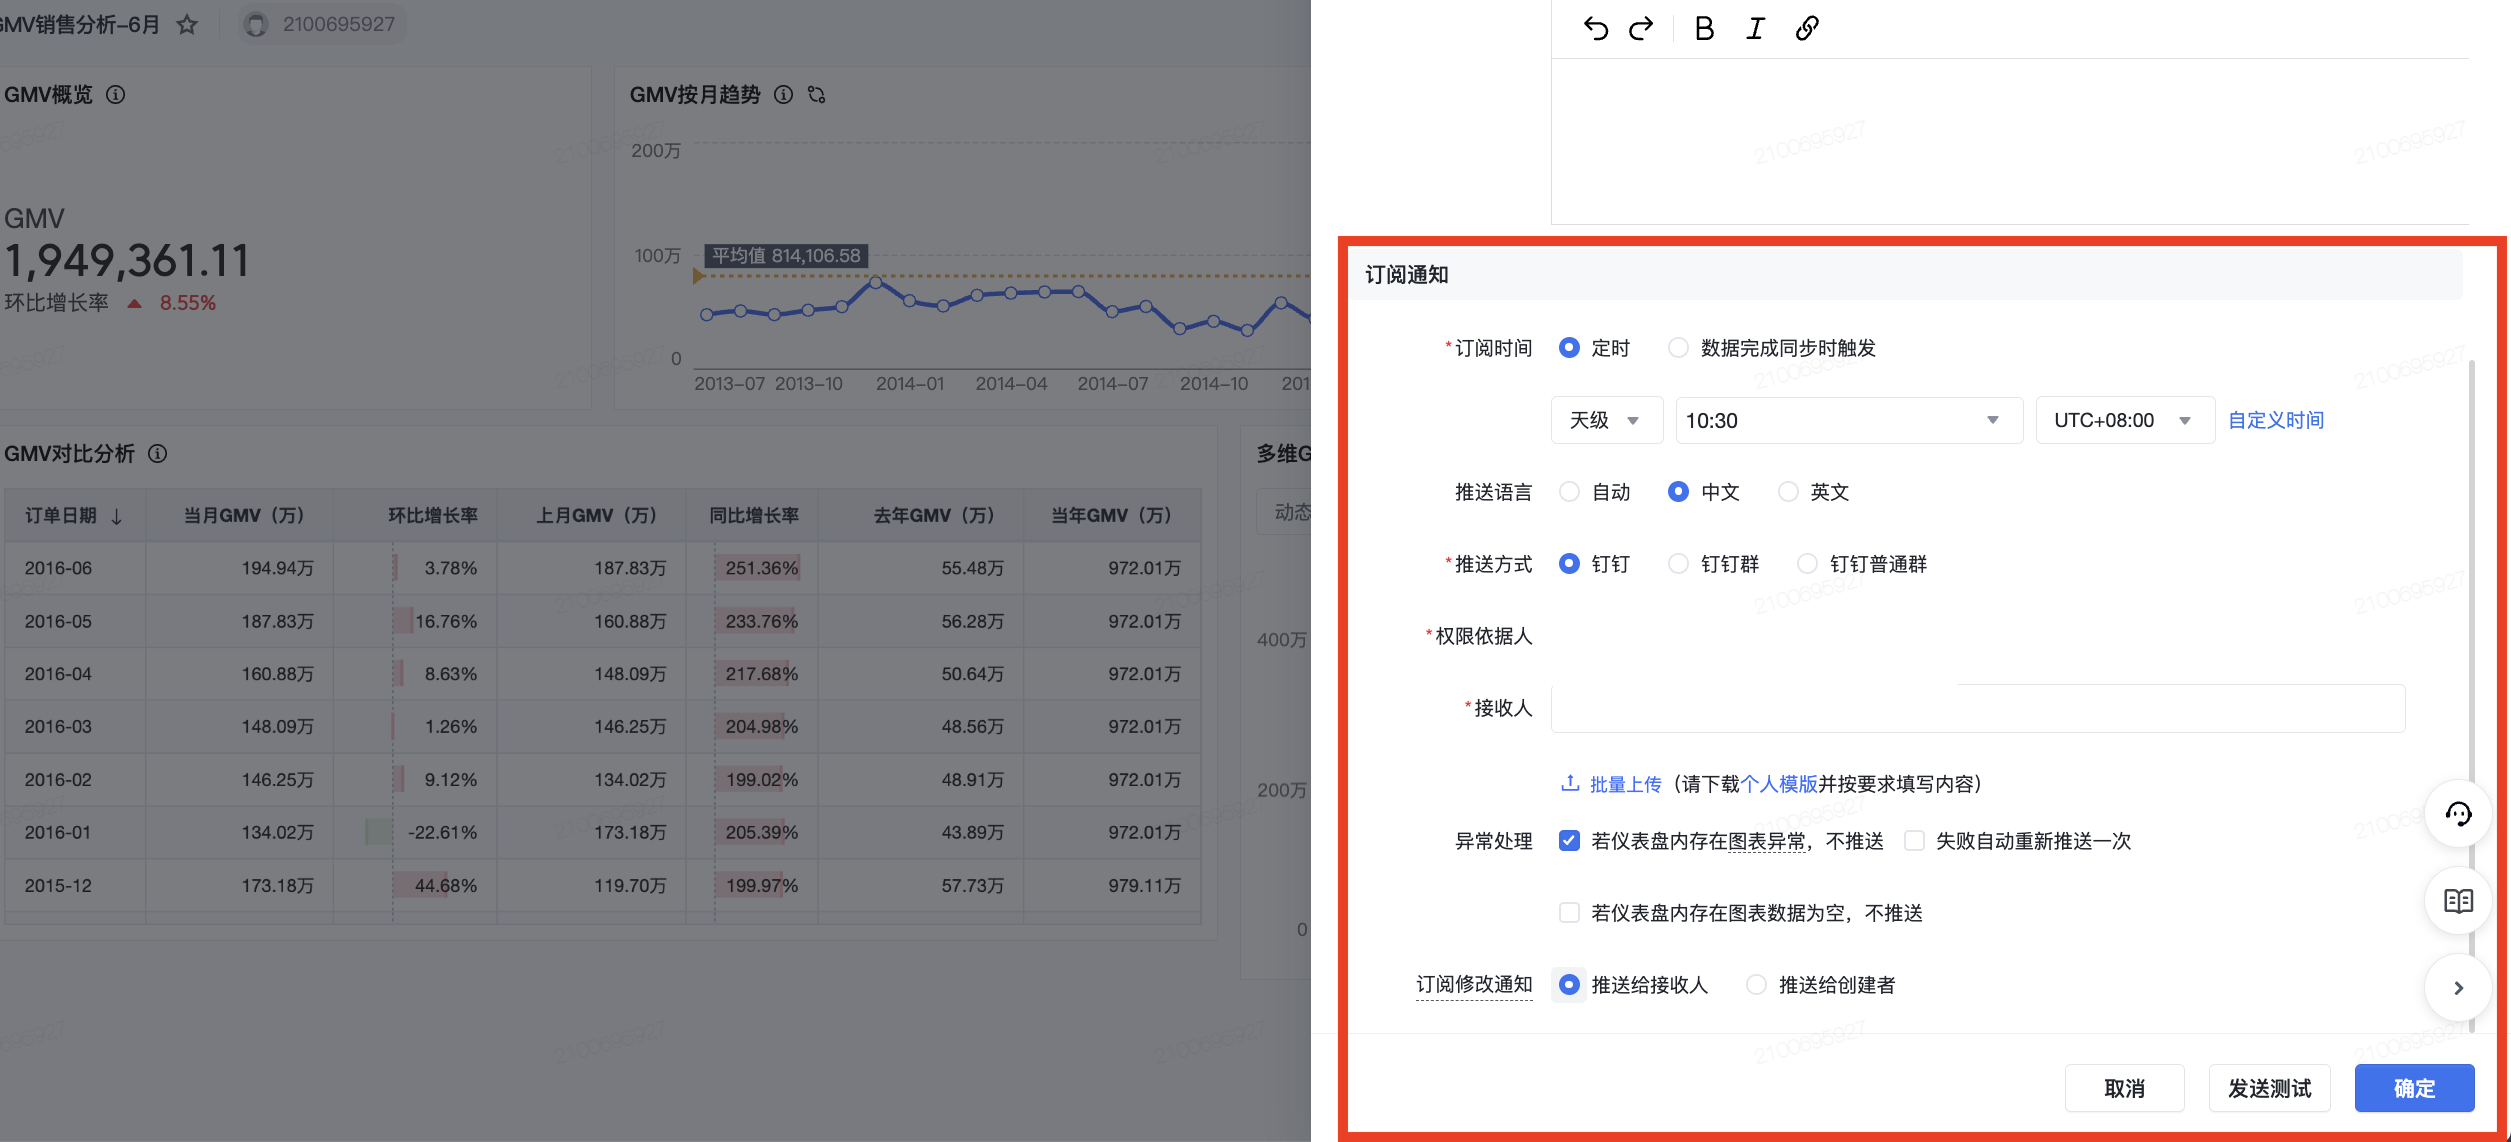
- Dashboard subscription
- Chart monitoring and alerting
- Push notifications for dataset synchronization results
warning
The related operations need to be completed by creating a custom application on the DingTalk Open Platform. The configuration interface of the DingTalk Open Platform is updated periodically. Please note that you should refer to the latest configuration interface.
- Create an application in the DingTalk tenant.
- After opening the link, click "Custom Application."

- The web interface will redirect as shown below. Click "Create."

- The web interface will redirect as shown below. Click "Create Application."

- After opening the link, click "Custom Application."
- Fill in the application information.
You can use your preferred application name and icon to create the application.
- Configure the allowlist.
To call DingTalk's APIs, appropriate security settings are required.
After creating the application, the web interface will redirect as shown below. Click "Security Settings."
warning
In this step, the following configurations differ between SaaS and on-premises deployment. Please note.
- For SaaS version users, set the following IPs as the allowlist, that is, "Server Egress IP":
180.184.64.81,180.184.87.232,180.184.102.141,14.103.128.84
Additionally, set the redirect URLs to:
https://console.volcengine.com/bi/datawind/#,https://console.volcengine.com/bi/datawind#/,https://console.volcengine.com/bi/datawind#/dataManage,https://console.volcengine.com/bi/datawind/#/dataManage,https://console.volcengine.com/bi/datawind/auth#/dataManage,https://console.volcengine.com/bi/datawind/auth/#/dataManage,https://console.volcengine.com/bi/datawind#/dataPrep,https://console.volcengine.com/bi/datawind/#/dataPrep,https://console.volcengine.com/bi/datawind/auth#/dataPrep,https://console.volcengine.com/bi/datawind/auth/#/dataPrep,https://console.volcengine.com/bi/datawind/#/prep/dataLink/authCallback/lark_sheet,https://console.volcengine.com/bi/datawind/#/prep/dataLink/authCallback/lark_bitable - For private deployment users, configure the IPs and URLs according to your company's internal requirements.
- For SaaS version users, set the following IPs as the allowlist, that is, "Server Egress IP":
- Set permissions.
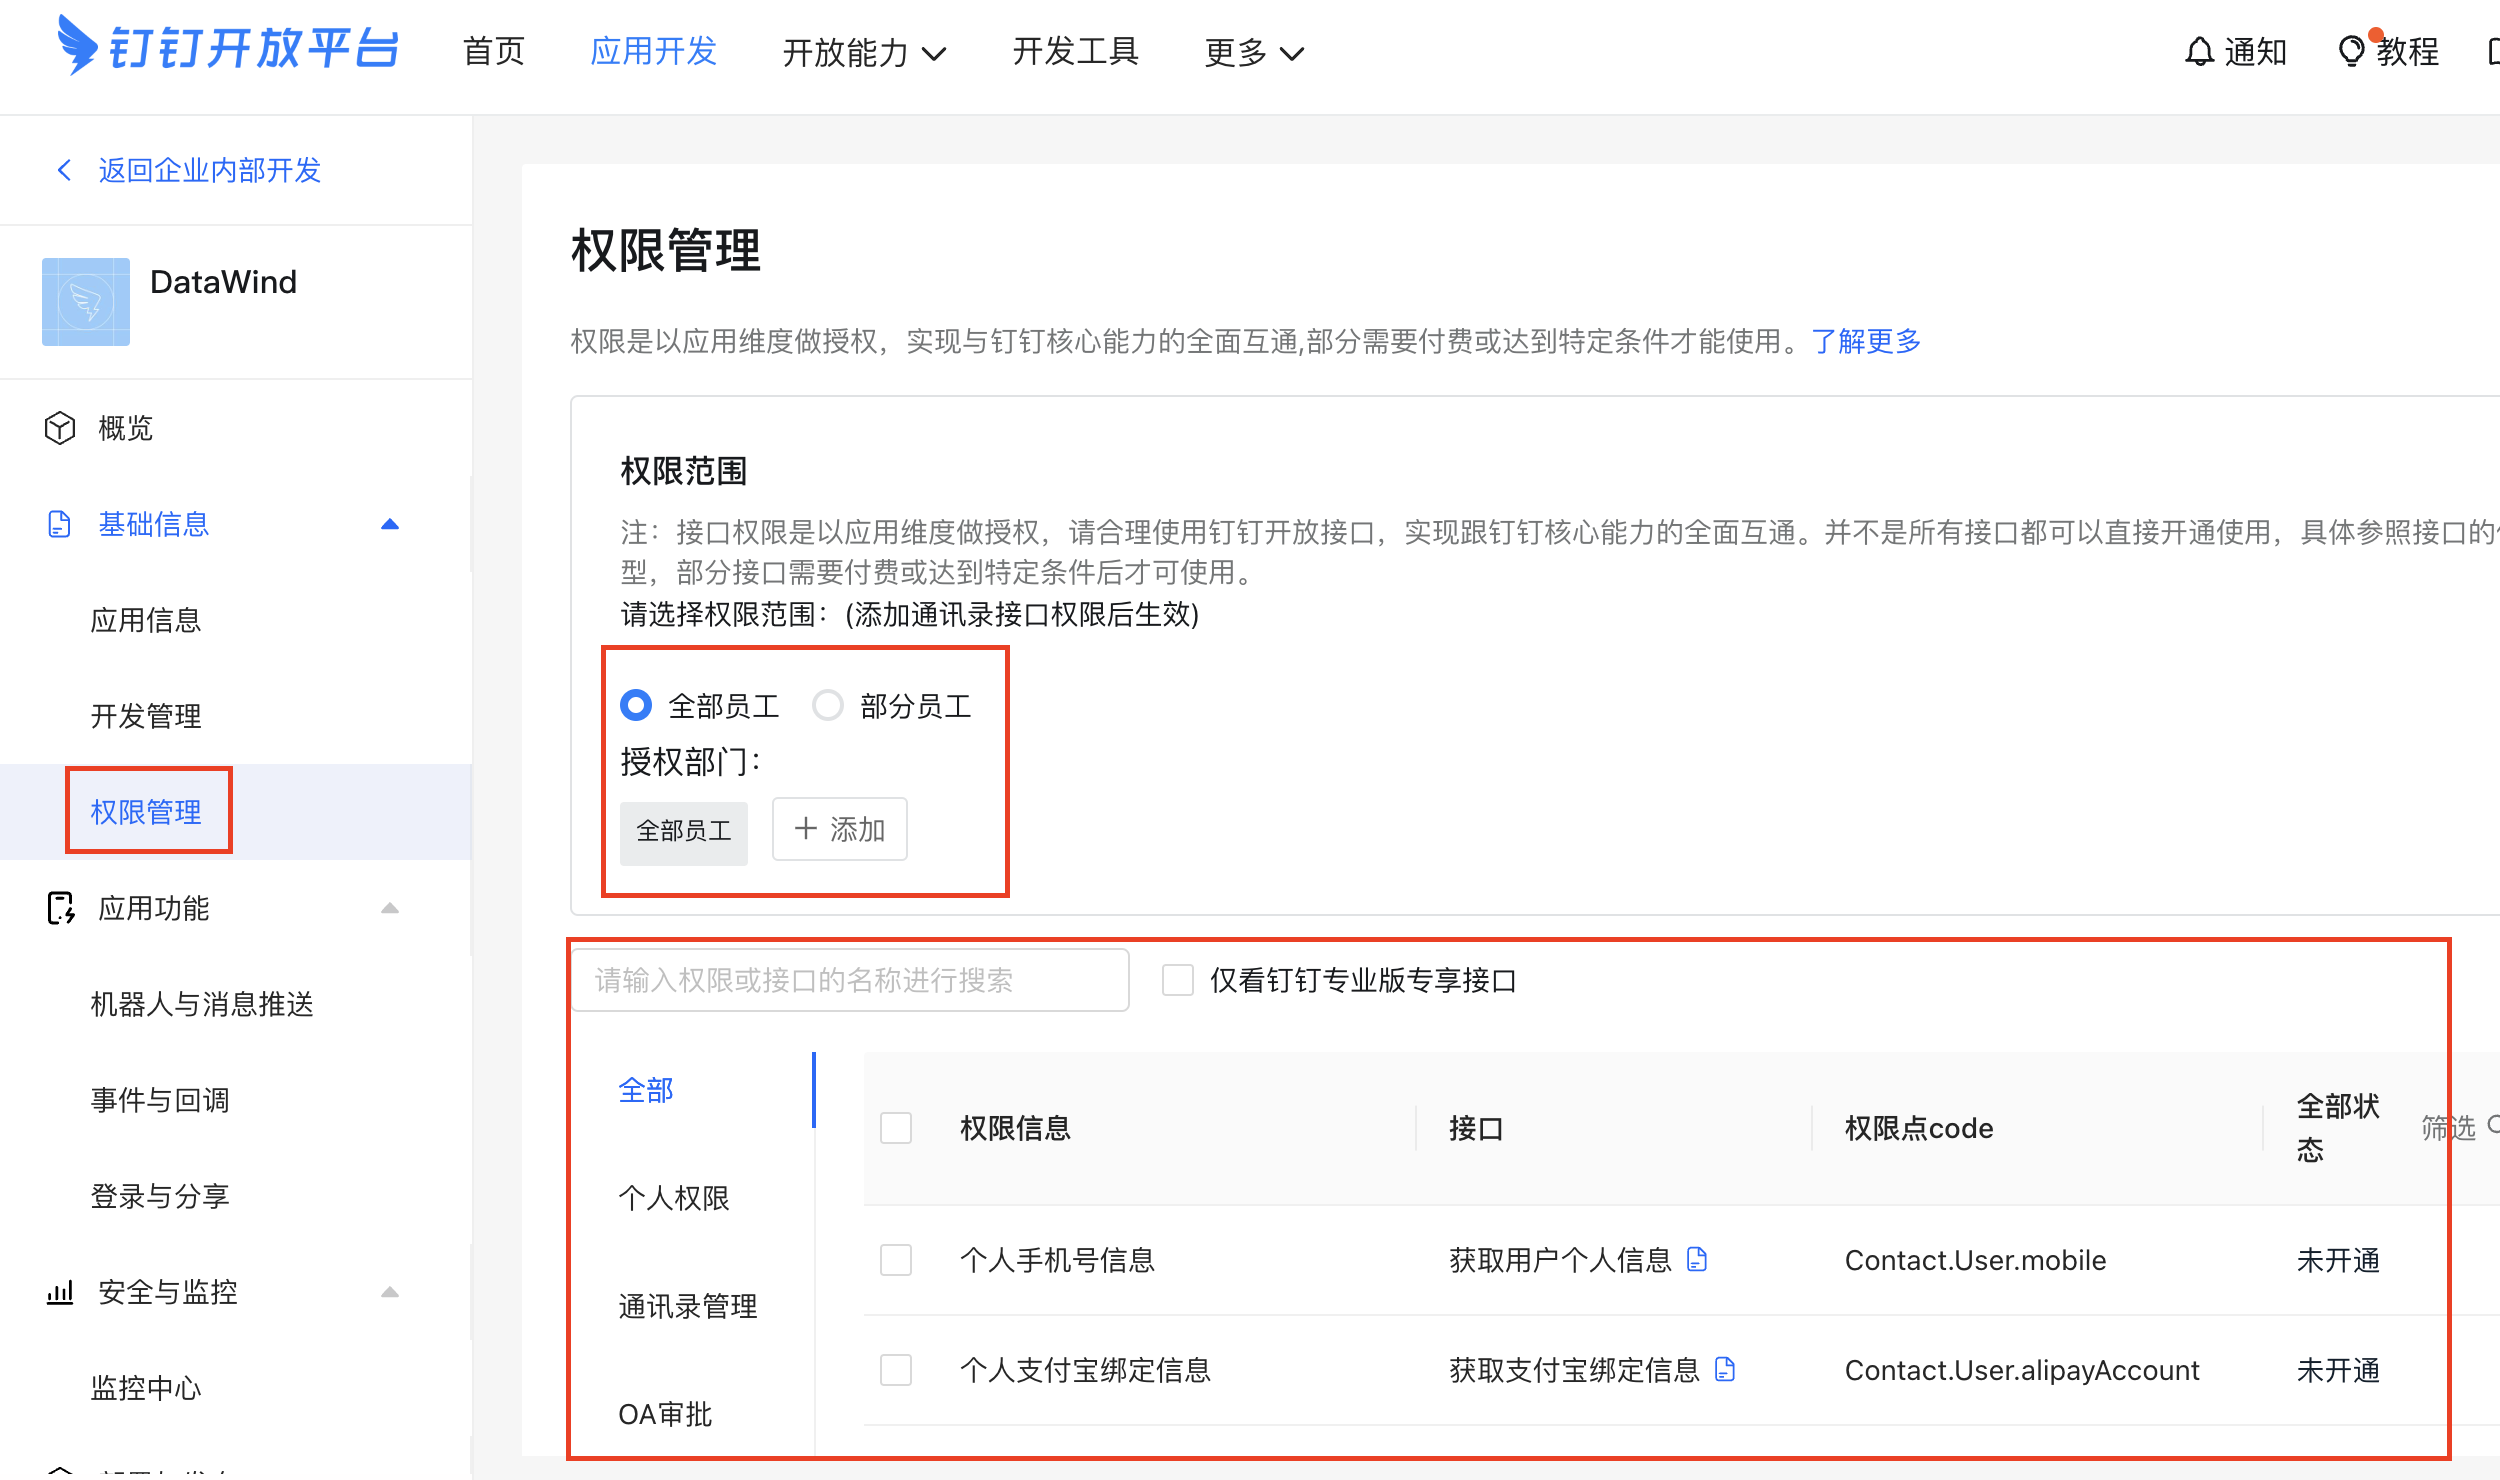
In the permission management section on the left, users can set application permissions and visibility. The following permissions are required:- Read permission for address book department information
- Read permission for member information
- Permission to obtain basic member information by mobile number
- Read permission for address book department members
- Read permission for external contacts
- Read permission for DingTalk group basic information
- Publish the application.
Click "Version Management and Release," then click "Create New Version" in the upper right corner.
After filling in the version information, click "Release" to bring the current application online.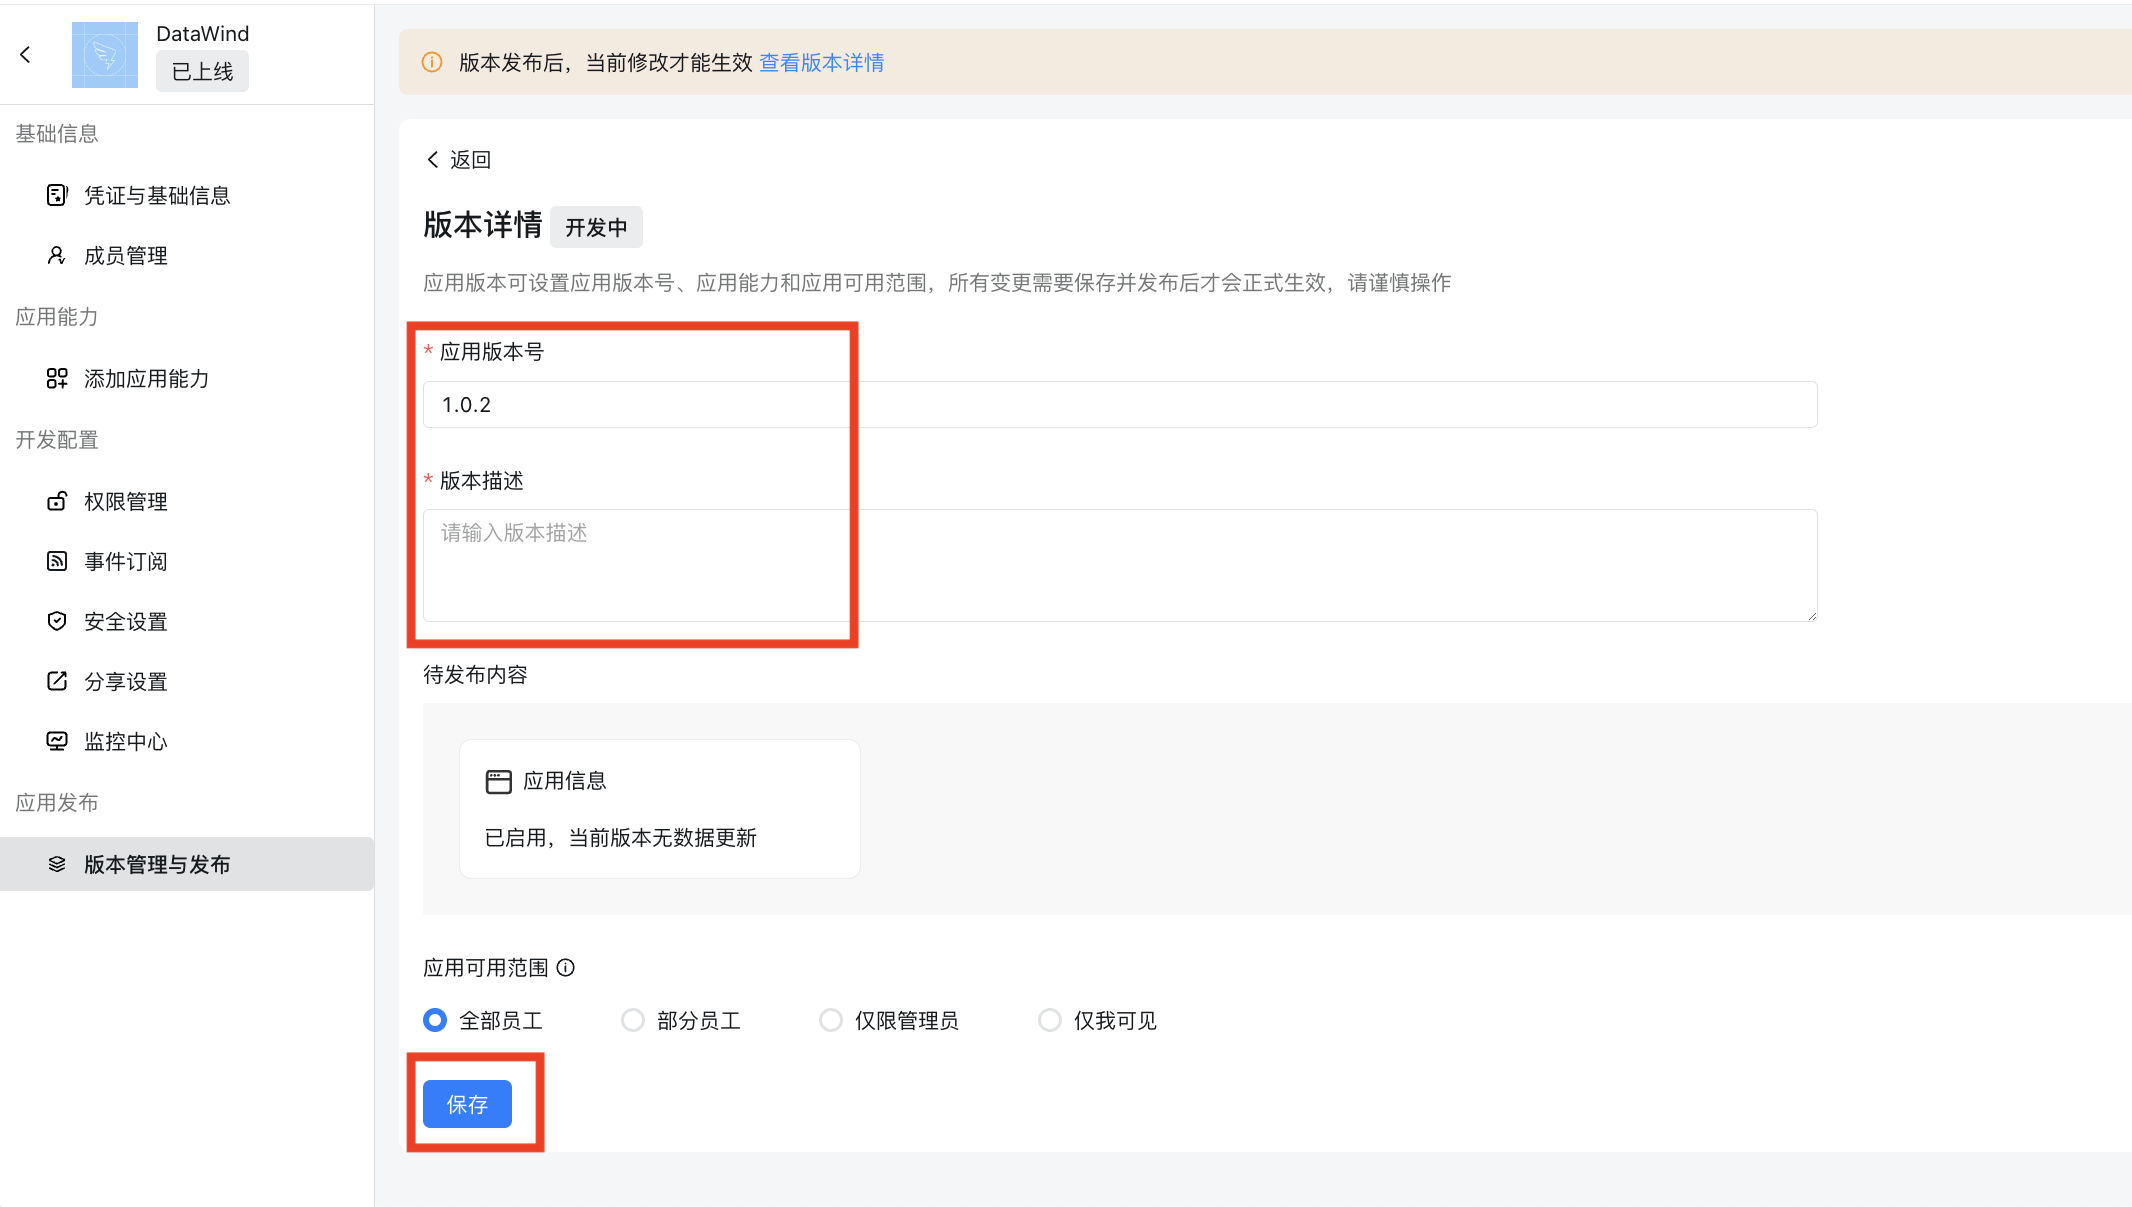
- Office platform integration and user account binding.
In "Credentials and Basic Information," locate the application credentials to obtain AgentId, Client ID (that is, AppKey), and Client Secret (that is, AppSecret).
Click "Home" in the upper left corner to return.
Find CorpId on the right side of the page.
Then complete office platform integration in Intelligent Data Insights. For details, see Office Platform Integration;
Then go to the user binding help documentation to bind users for Intelligent Data Insights and DingTalk. For details, see System Management Overview – Private Deployment Version;
After binding, users can receive push notifications from DingTalk.
After completing all operations in the "Prerequisite configuration instructions", continue with the following steps on the DingTalk application management page:
Configure the domain name
In the Add Application Capabilities section, click Add Web Application.
Then configure the application address and related information in the web application.
- Homepage: https://【domain name】/bi-h5/?corpId=$CORPID$&【region】
- Example: If 【domain name】 is console.volcengine.com, CORPID is 12345, and 【region】 is Shanghai, then the homepage URL is: https://console.volcengine.com/bi-h5/?corpId=12345®ion=cn-shanghai;
tip
The access region information for the SaaS version is as follows. For more information, see 访问地域与火山云内网连接:
- North China 2 - Beijing: region=cn-beijing
- East China 2 - Shanghai: region=cn-shanghai
- Asia Pacific Southeast - Johor: region=ap-southeast-1
- After making changes, remember to publish the application again.
Mobile workspace
Pin this application to the homepage of the mobile workspace for convenient access from the mobile version.
Push scenarios
You can subscribe to dashboard screenshots sent to the DingTalk application. Chart monitoring messages and application dataset synchronization results will be pushed to the DingTalk application.